


Top Sleeknote Alternatives to Get More Leads in 2026
In this article, we'll share the best alternatives to Sleeknote that help you to get more leads in 2026.
To improve the conversion rates of your popups, you need to get your popup timing right. Learn how to find the best time to display popups.
In short
Optimize your website's conversion rates by mastering popup timing strategies. Learn how to align popups with visitor intent, use data-driven insights, and implement behavior-based triggers for maximum engagement. Discover common mistakes to avoid and tips for testing and optimizing popup timing to enhance user experience and boost conversion rates effectively.
Finding the right moment is the key to effective popups.
Even if you have a great popup design and target the right audience, showing it at the wrong time can make it completely ineffective. In other words, your chance to drive conversions from your potential customers drops to zero.
In this article, we’ll cover:
Let’s get right into it!
Popup timing refers to the exact moment a popup appears on your website, determined by factors like time on page, scroll depth, user behavior, or exit intent.
Getting the timing right ensures your message appears when visitors are most receptive after they’ve engaged but before they leave.
Well-timed popups can reach more conversions, lower bounce rates, and create a smoother, more personalized browsing experience.
Popups can be incredibly effective, but only when they appear at the right moment. Poor timing can quickly turn a helpful message into an interruption.
Here’s why popup timing matters:
Finding the right balance requires understanding your audience’s behavior, when they engage, when they hesitate, and when they’re ready to act.
Once you align your timing with those signals, your popups will feel helpful, not disruptive.
There’s no single “right” popup timing strategy, it depends on your campaign’s goal and audience. In this section, we’ll explore key factors and quick tips to help you find the perfect timing for your popups.
First things first, you should be focusing on your visitor's intent. Here is a bit of a snippet on how you can quickly match your pop-ups to visitors' intent.
| Visitor type | Visitor type | Example |
|---|---|---|
| New visitor | 20–30s delay or 50% scroll | Welcome discount popup |
| Returning visitor | 5–10s delay | “Welcome back” product popup |
| Cart abandoner | Exit intent | Discount or reminder popup |
The two most important questions when it comes to popup timing are:
For example, you might want to create an email popup for first-time visitors. In this case, your goal is to get new website visitors to sign up for your email marketing list.
What’s the best way to accomplish this? By giving those brand-new visitors some time to get to know your brand before showing your popup campaign.
After all, people usually won’t subscribe to the list of a website they have no interest in (or know nothing about). Let them look around and get their bearings, and you’ll have a much better chance of making a successful conversion.
So how long do you give them?
It could be 20 seconds, 30 seconds, or even a minute, depending on your site and content.
If you want to launch an email popup, here are a few templates that will grab your visitor's attention:
Ultimately, you need to consider where your visitors are in the customer journey. This will allow you to understand the different relationships that various segments of visitors have towards your website.
How does this approach work if you’re targeting a different audience?
Let’s take returning visitors, for instance. They already have a relationship with your website. Perhaps they have already spent time browsing your products. In this case, your goal is to convince them to take the leap and make a purchase this time.
To do that, you could use a welcome-back popup to help them find the products they’ve previously viewed.
With this type of popup, you don’t need to wait before displaying it. In fact, since welcome-back popups can help visitors quickly navigate to the products they were already interested in, they’re genuinely helpful, which means you can set them to appear just a few seconds after the visitor landed.
Let’s take one final example.
If your goal is to save cart abandoners, then you should have a different popup timing approach and use an exit-intent technology. An exit-intent popup senses when a visitor is about to abandon your page, and shows up at that precise moment!
Exit-intent popups can dramatically increase conversion rates and decrease bounce rates as they are displayed at just the right time to capture attention.
Check out this article to learn more about popup types for different segments of visitors.
Now that we've discussed how your audience and goal affect the popup timing, let’s look at some other important factors!
To decide on the number of seconds you should wait before displaying popups, you need to be aware of which pages your visitors browse and how much time they spend on each specific page.
You can use Google Analytics to find the average time on each important page:
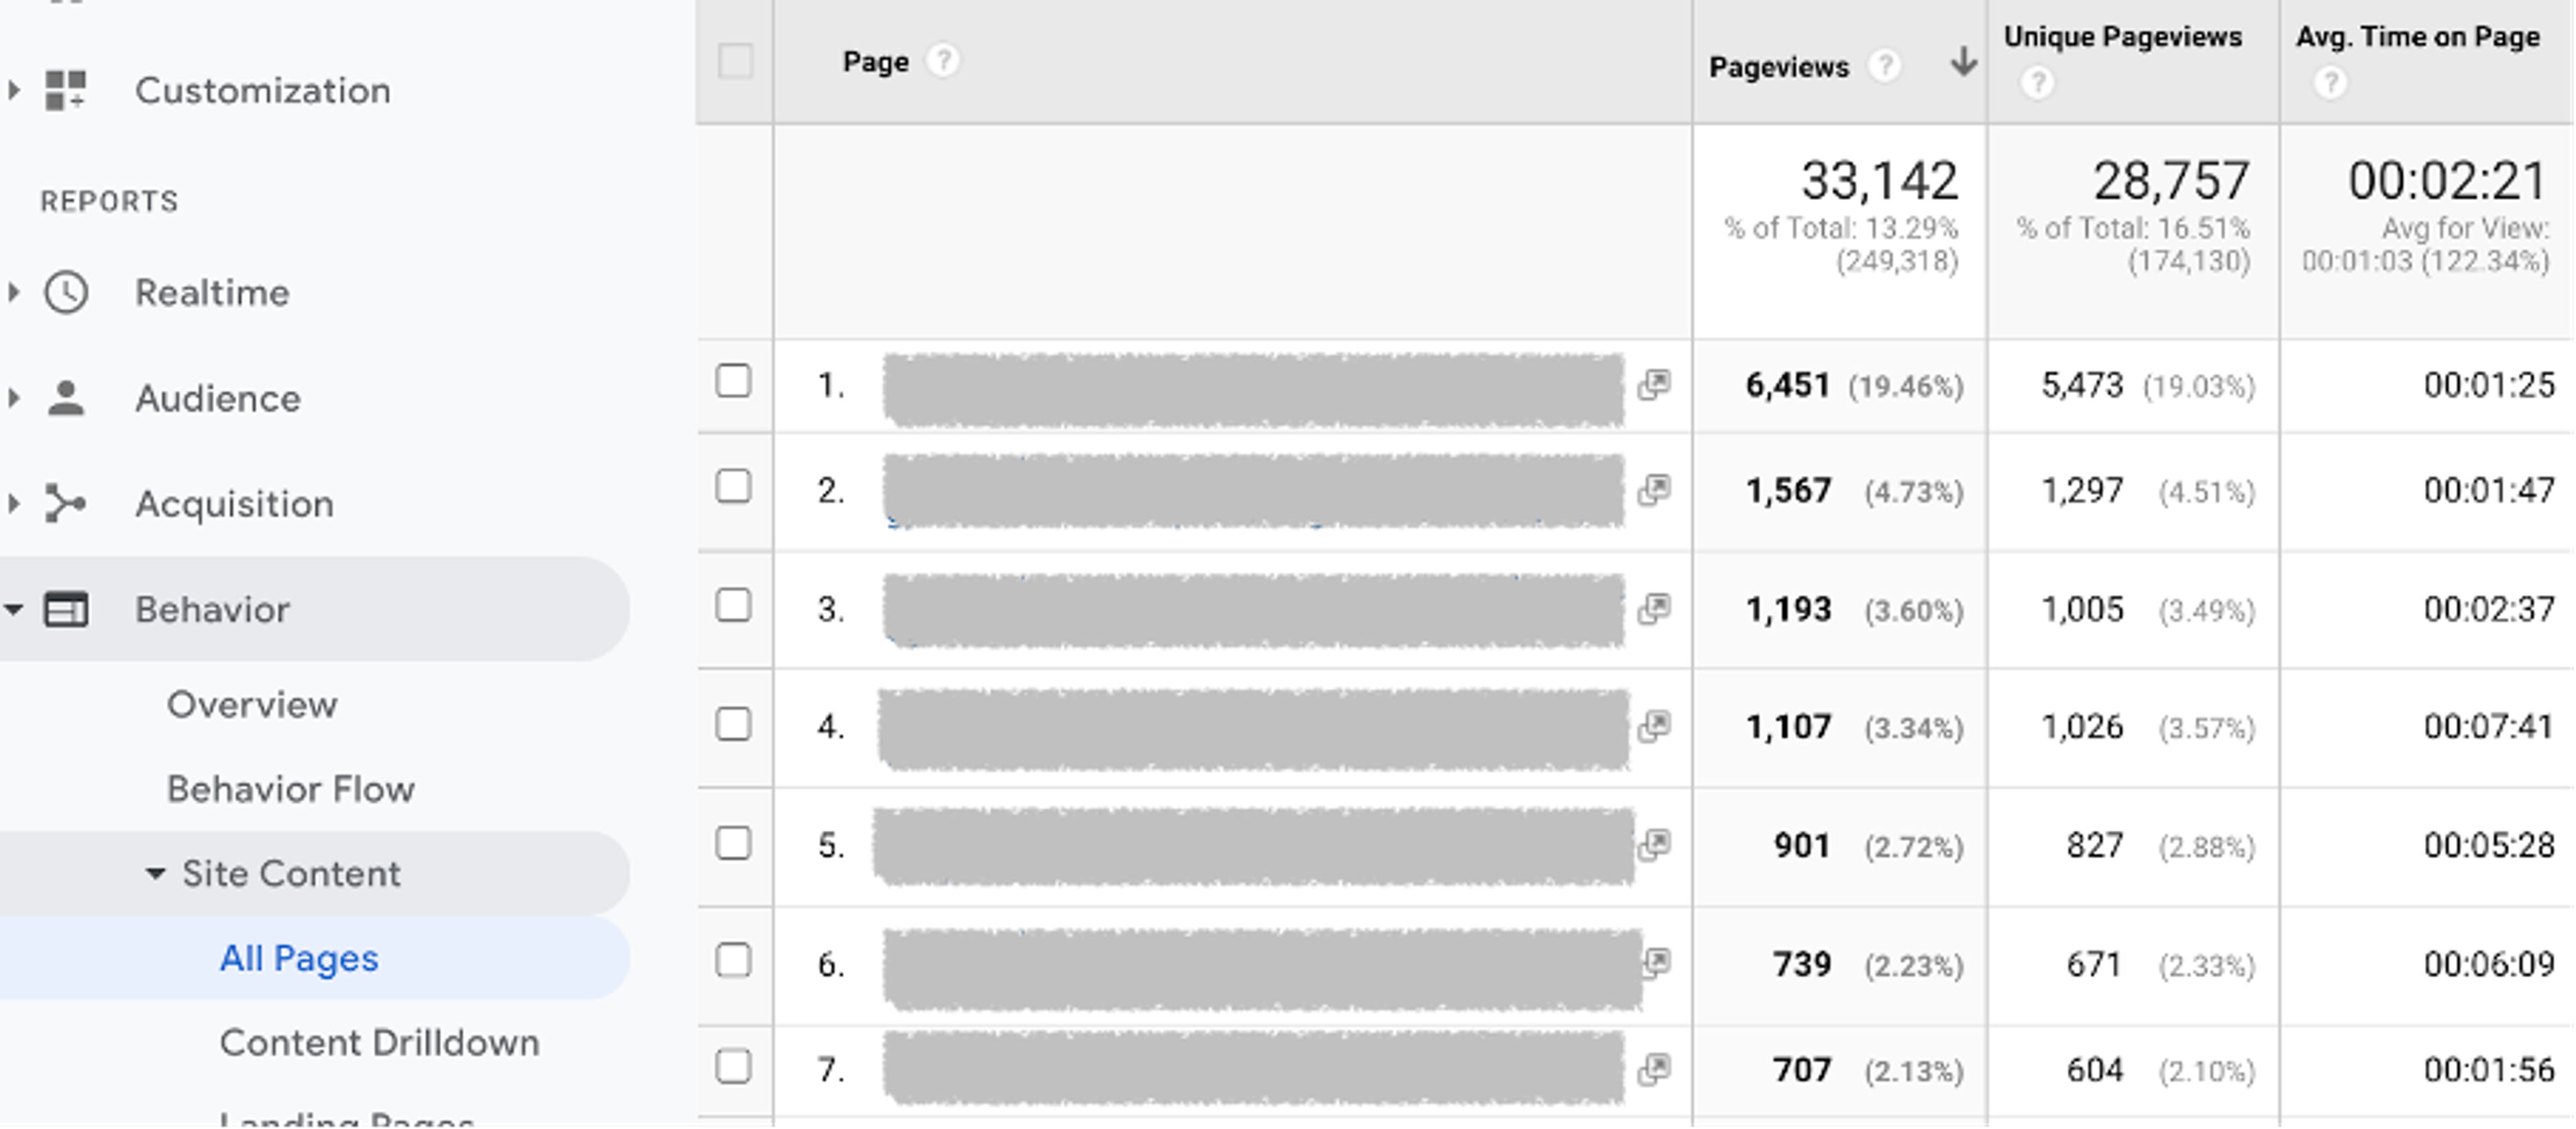
You should display your popup slightly earlier than the average time visitors spend on specific pages. That means that you'll show them your popup after they've digested the information on your page, but just before they're thinking about leaving.
For example, if you want to run email capture forms on your landing page and visitors tend to spend 35 seconds there, you can set your popup timers to about 25 or 30 seconds.
Time spent on a page isn't the only criteria you can use to trigger your popups. There are other ways to measure user engagement that are just as important.
Let’s see a few options that can help to perfect popup timing.
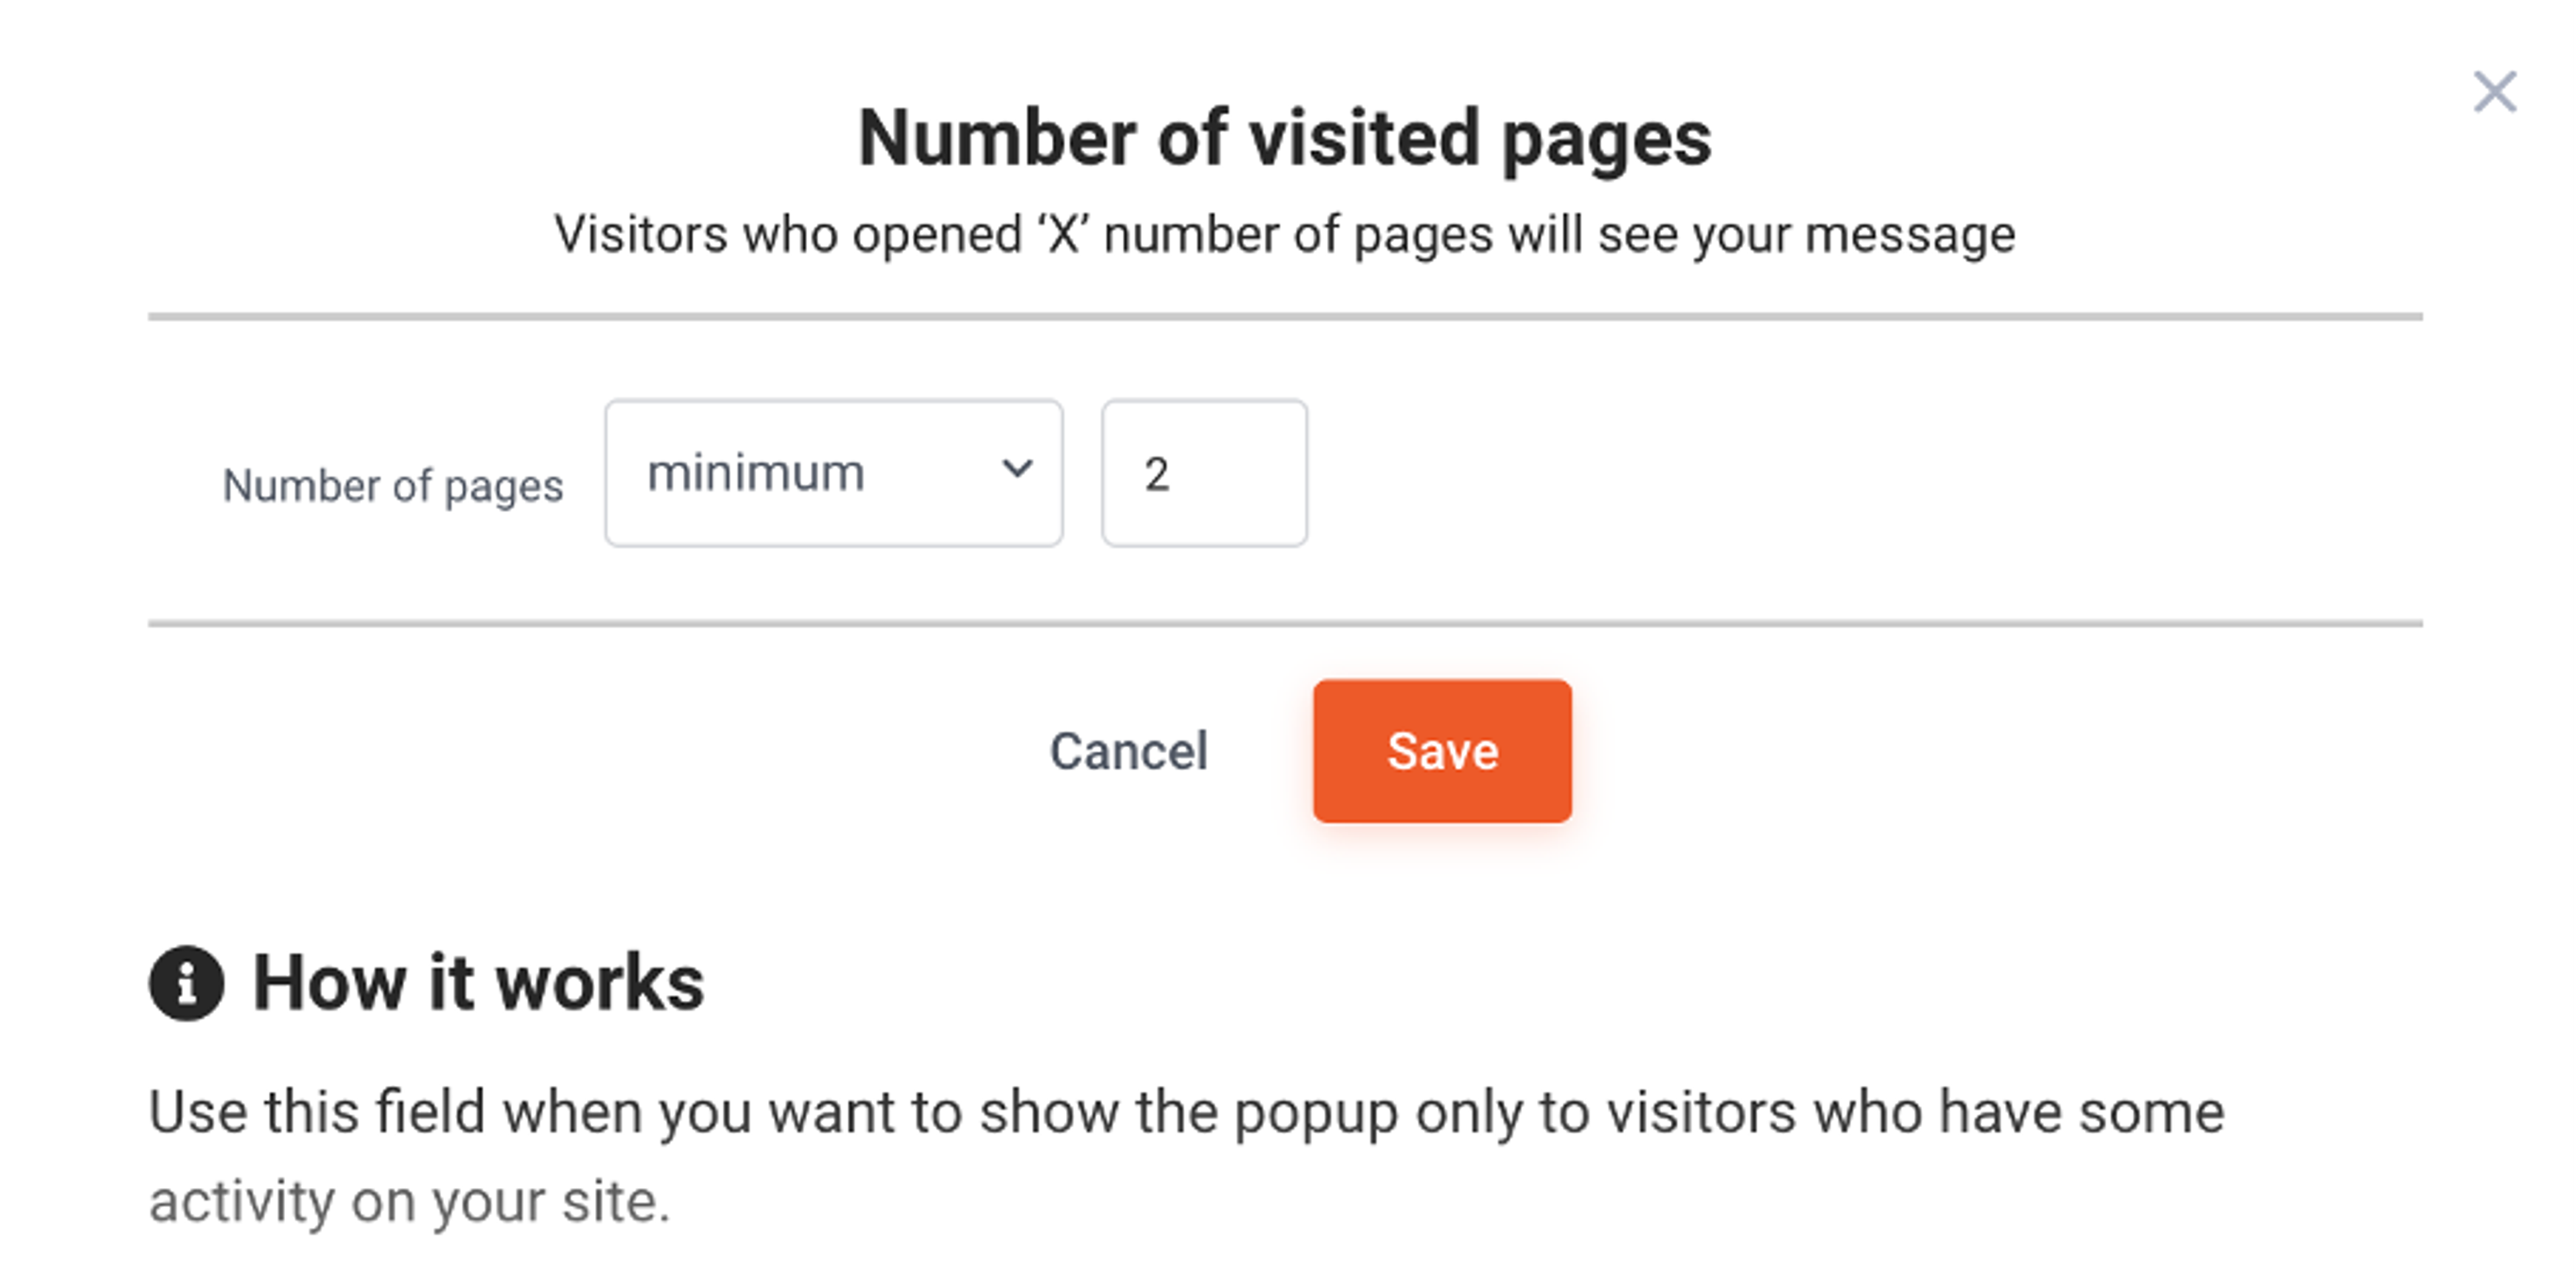
The number of visited pages: This metric helps determine how engaged a website visitor is. If they only visit one page on your website before exiting, they’re probably not interested in your store.
But, if they’ve visited three different pages after arriving, they’re more likely to be receptive to messages or even ready to make a purchase.
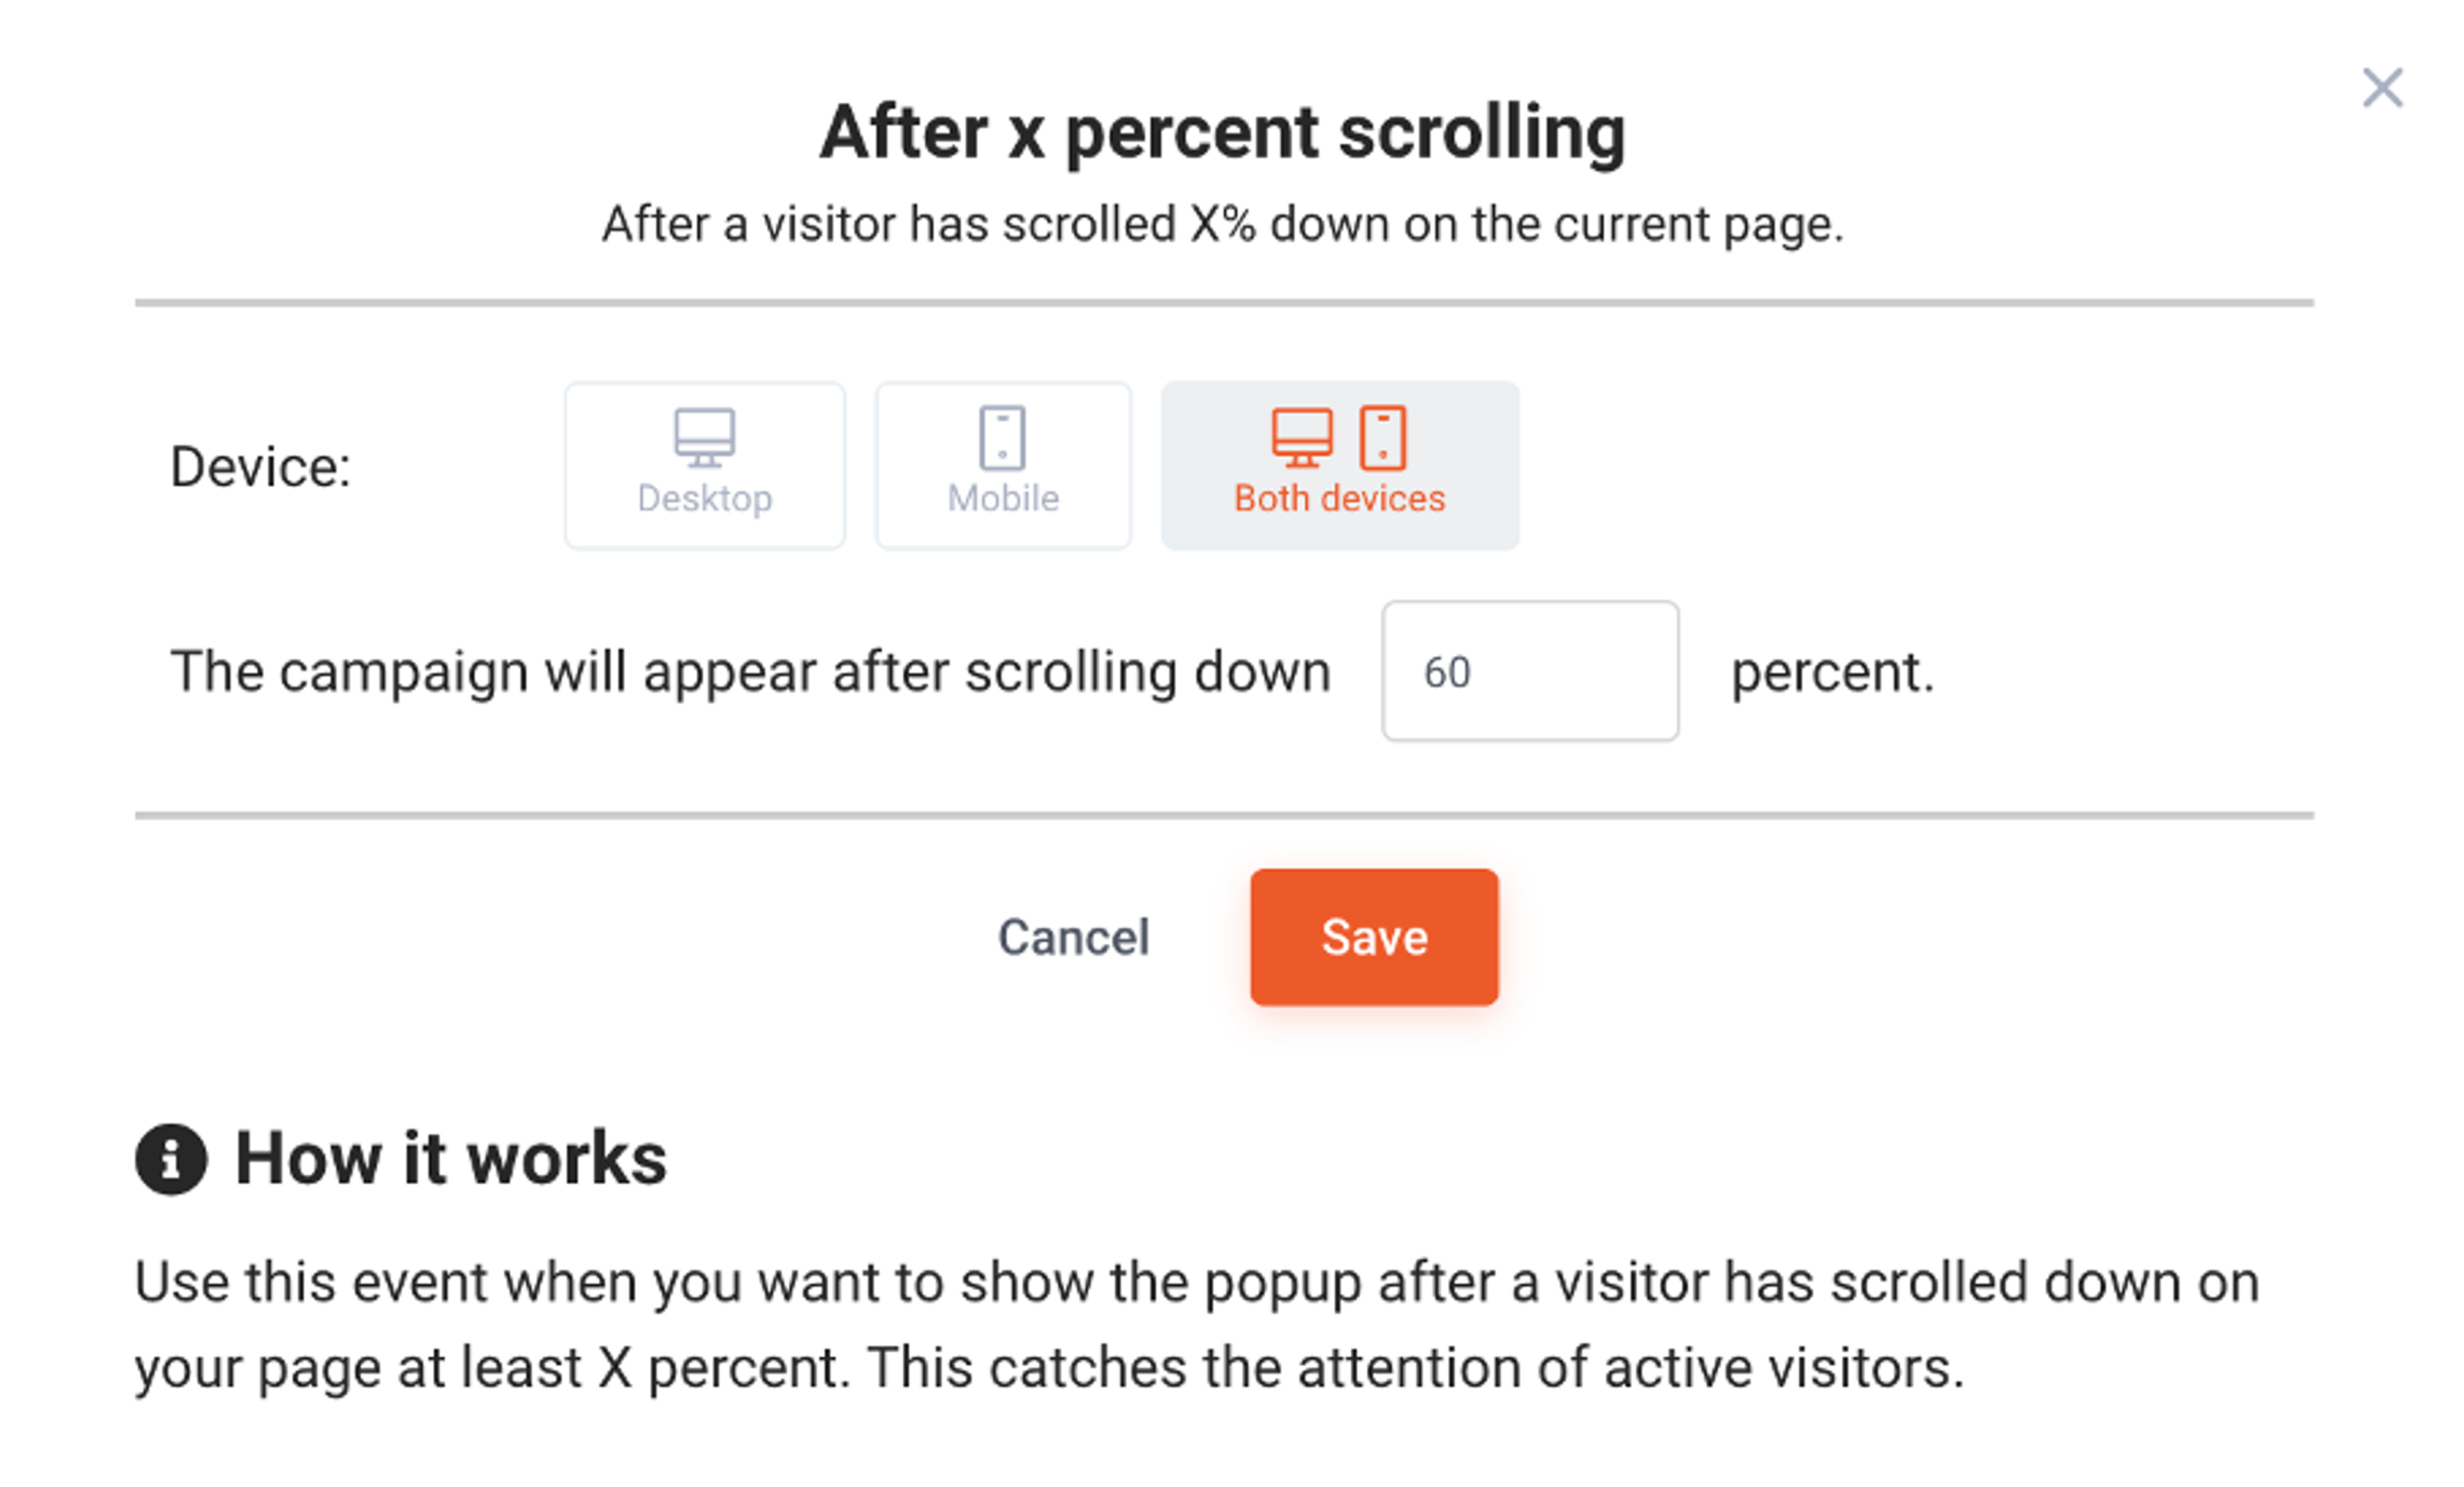
Scrolling: The more a visitor scrolls down on your site, the more interested they are in your content. Using a page scroll trigger allows you to display a popup after a visitor has scrolled down a certain percentage of a page.
For example, if a website visitor is reading one of your articles and they reach the bottom of the article, they probably enjoyed it and want to read more. You could trigger a content upgrade message to appear when they reach the bottom of that page.
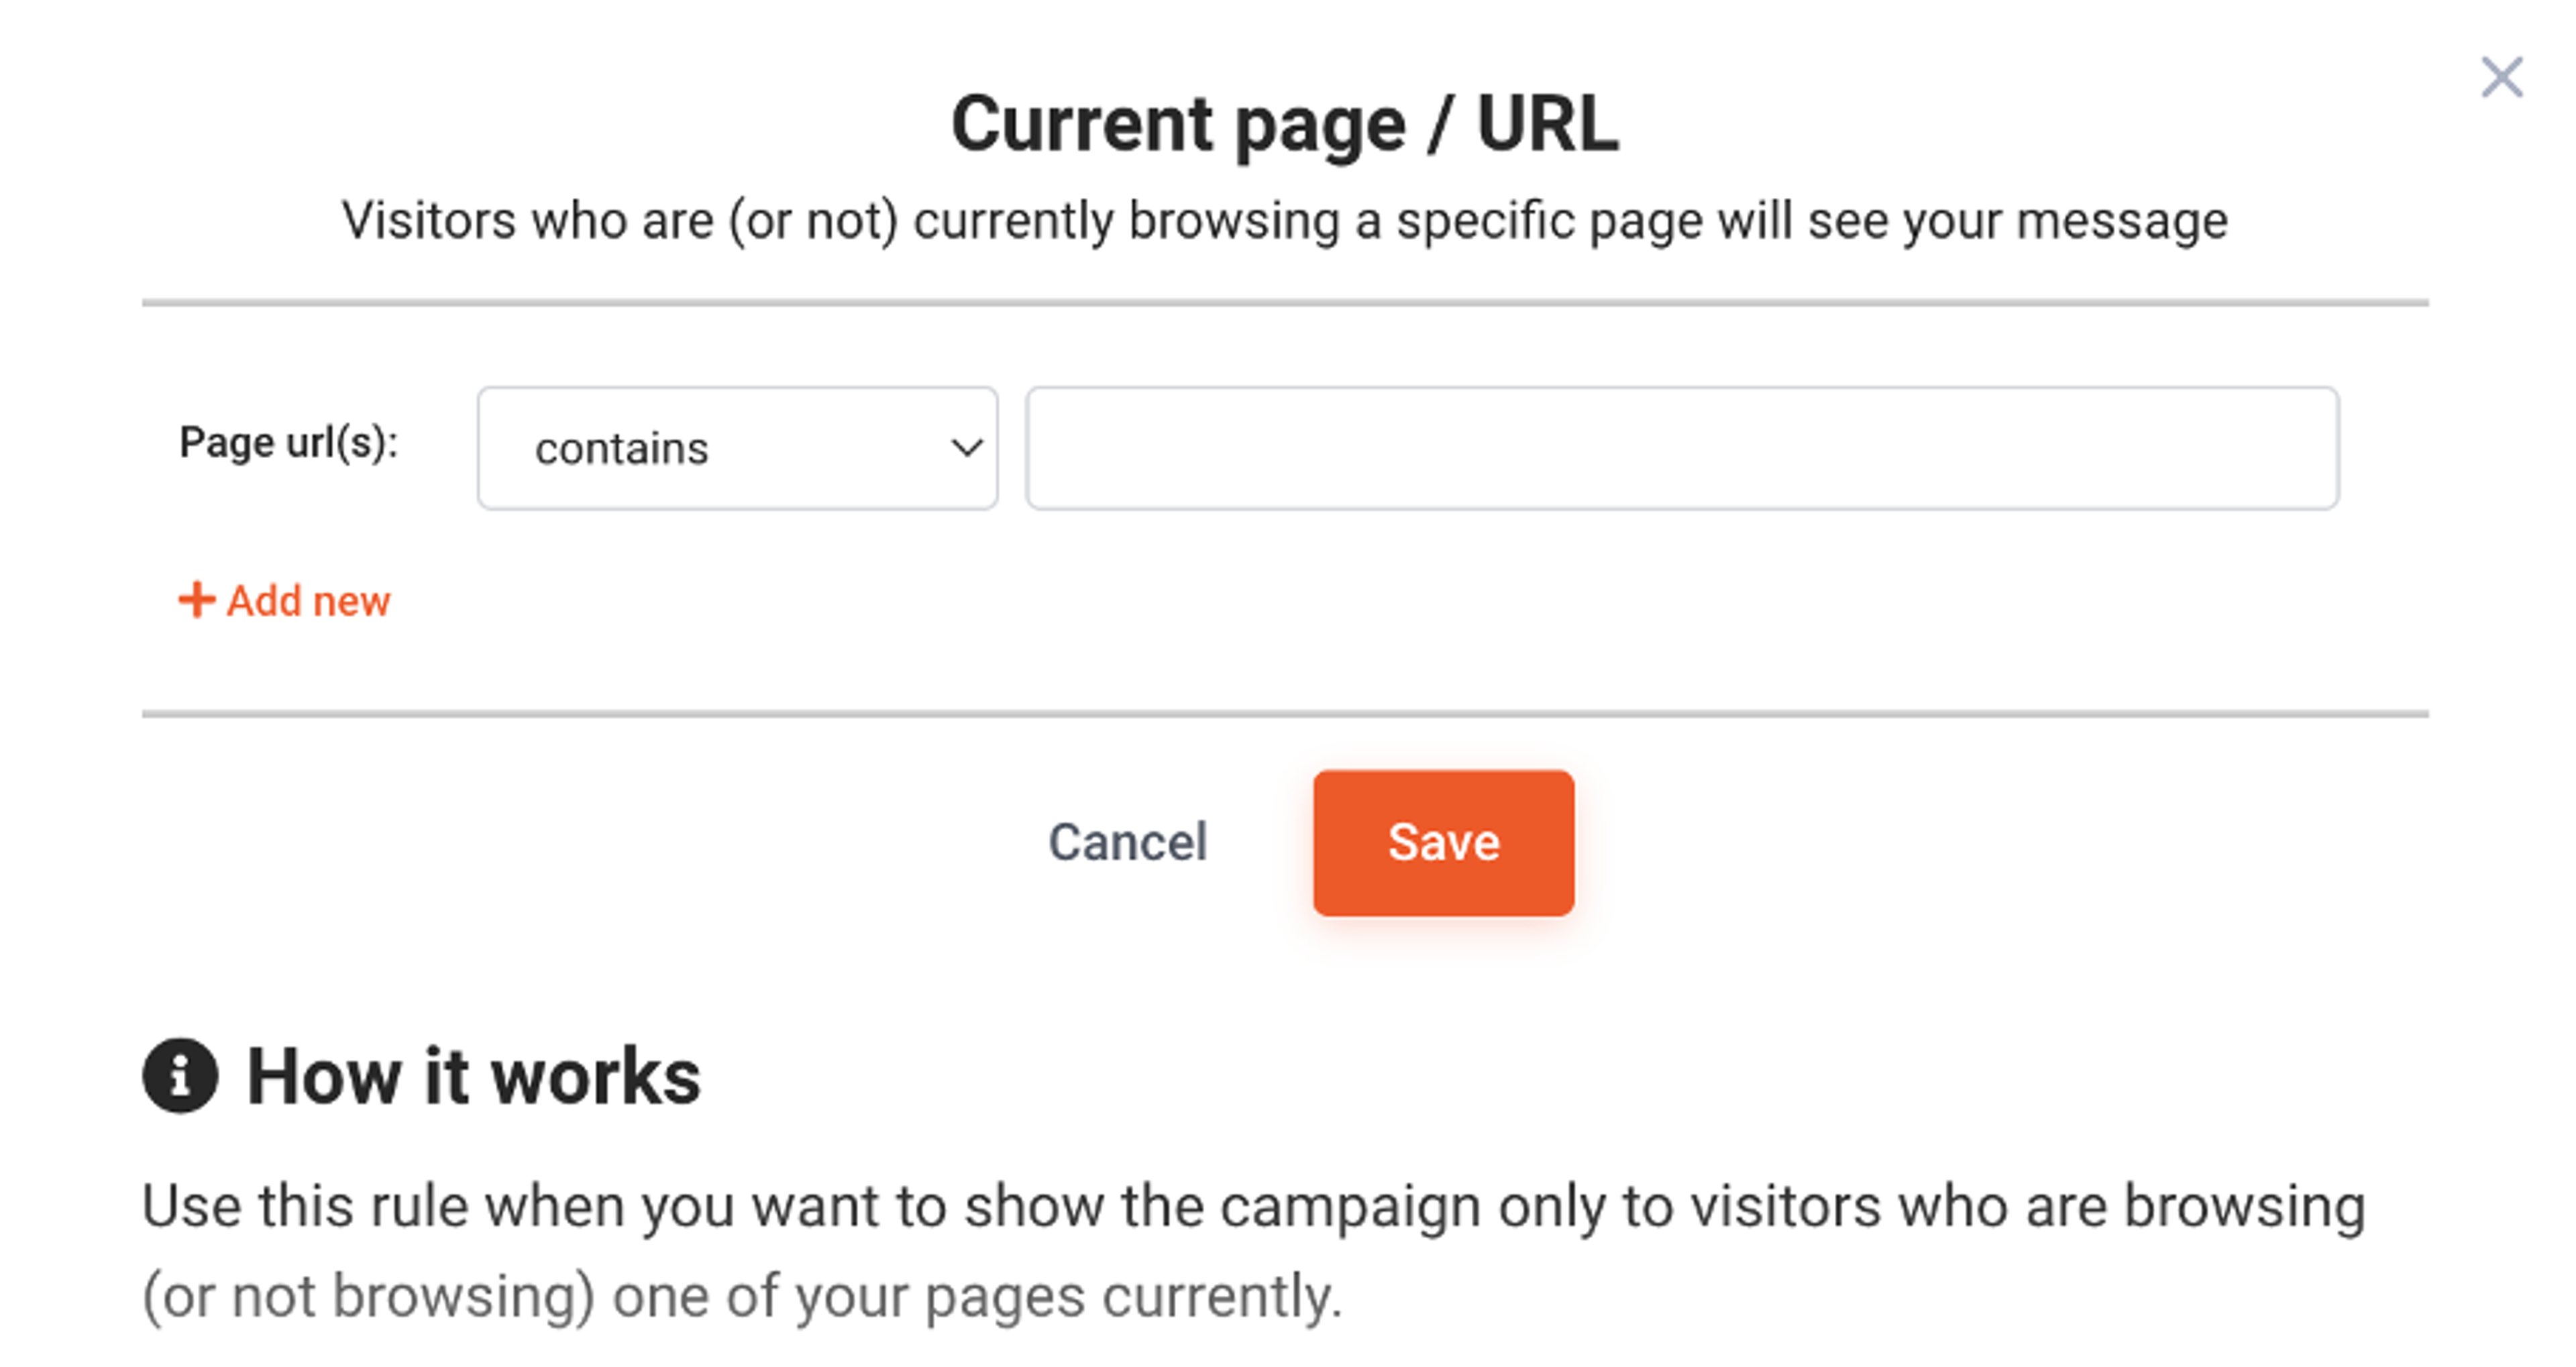
Current page/URL: This can also help you determine how engaged your visitors are. If they’re browsing your blog, they're probably not yet product aware and need more time to get to know your products. Therefore, it's not the right time to push them to buy with a discount code popup, but a content upgrade popup could be very successful.
On the other hand, if a visitor is browsing your product pages or they're already on your cart page, they're ready to buy from you and they might only need one push to finish the purchase. That's the time to offer special discounts or limited-time freebies!
If you're worried that showing popups will take customer attention away from important content no matter when you show them, you could give teasers a try.
Teasers are small, unintrusive messages that appear in the bottom corner of your page. A teaser gives users a sneak peek of your popup by highlighting its main takeaway (for example, "Grab Your 10% Discount Code").
The full popup appears after the visitor clicks on the teaser or as a result of another trigger (like spending 30 seconds on the site or on exit intent), helping you maximize engagement.
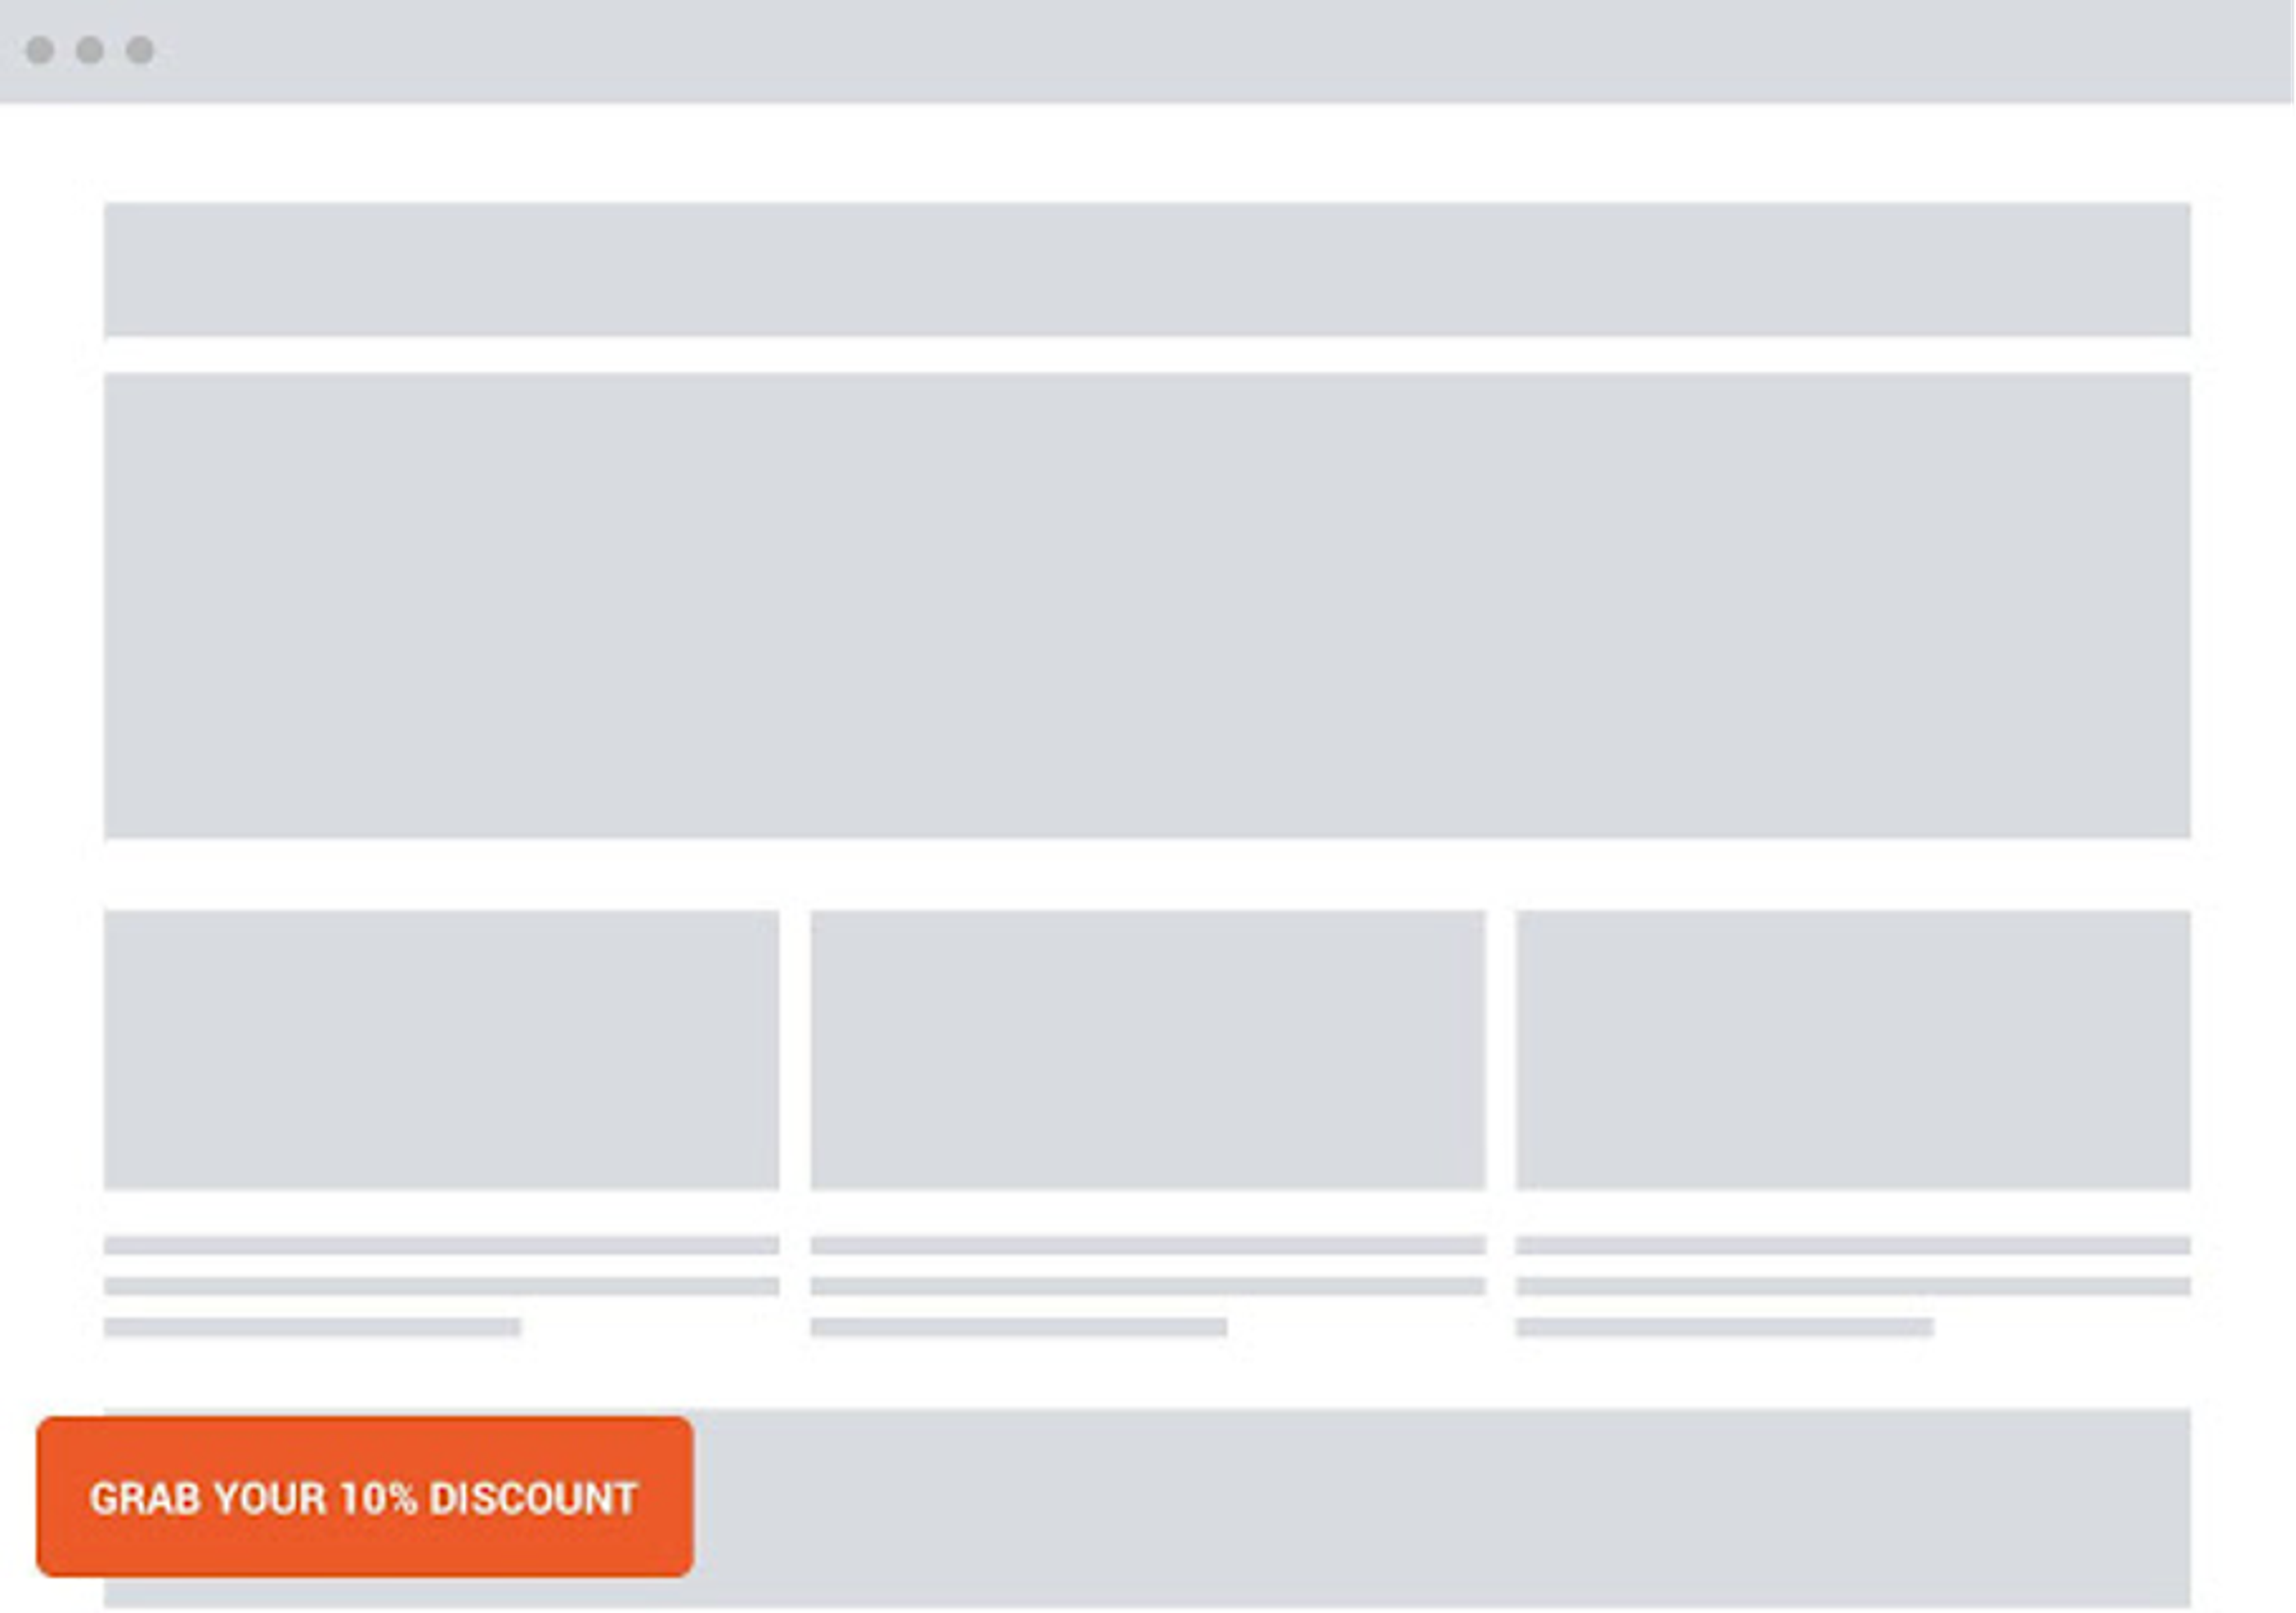
Since teasers don’t disrupt the visitor's browsing experience, you don’t need to wait very long to display them.
You can read more about teasers here.
Popup timing can make or break your conversion rates. Show it too early, and you risk annoying users. Wait too long, and they might bounce before they see it. That’s why A/B testing is your best friend.
Try different trigger times like showing a well timed popup after 10 seconds vs. on exit intent and see which one drives better results.
Track core metrics such as:
Remember, visitor intent matters. New users often need more browsing time before opting in, while returning visitors tend to convert faster.
Tailor your popup triggers to match each segment’s behavior for maximum impact.
If you're using OptiMonk, testing timing is super easy. Just log in, head to your campaign, and click on the A/B Test Center.
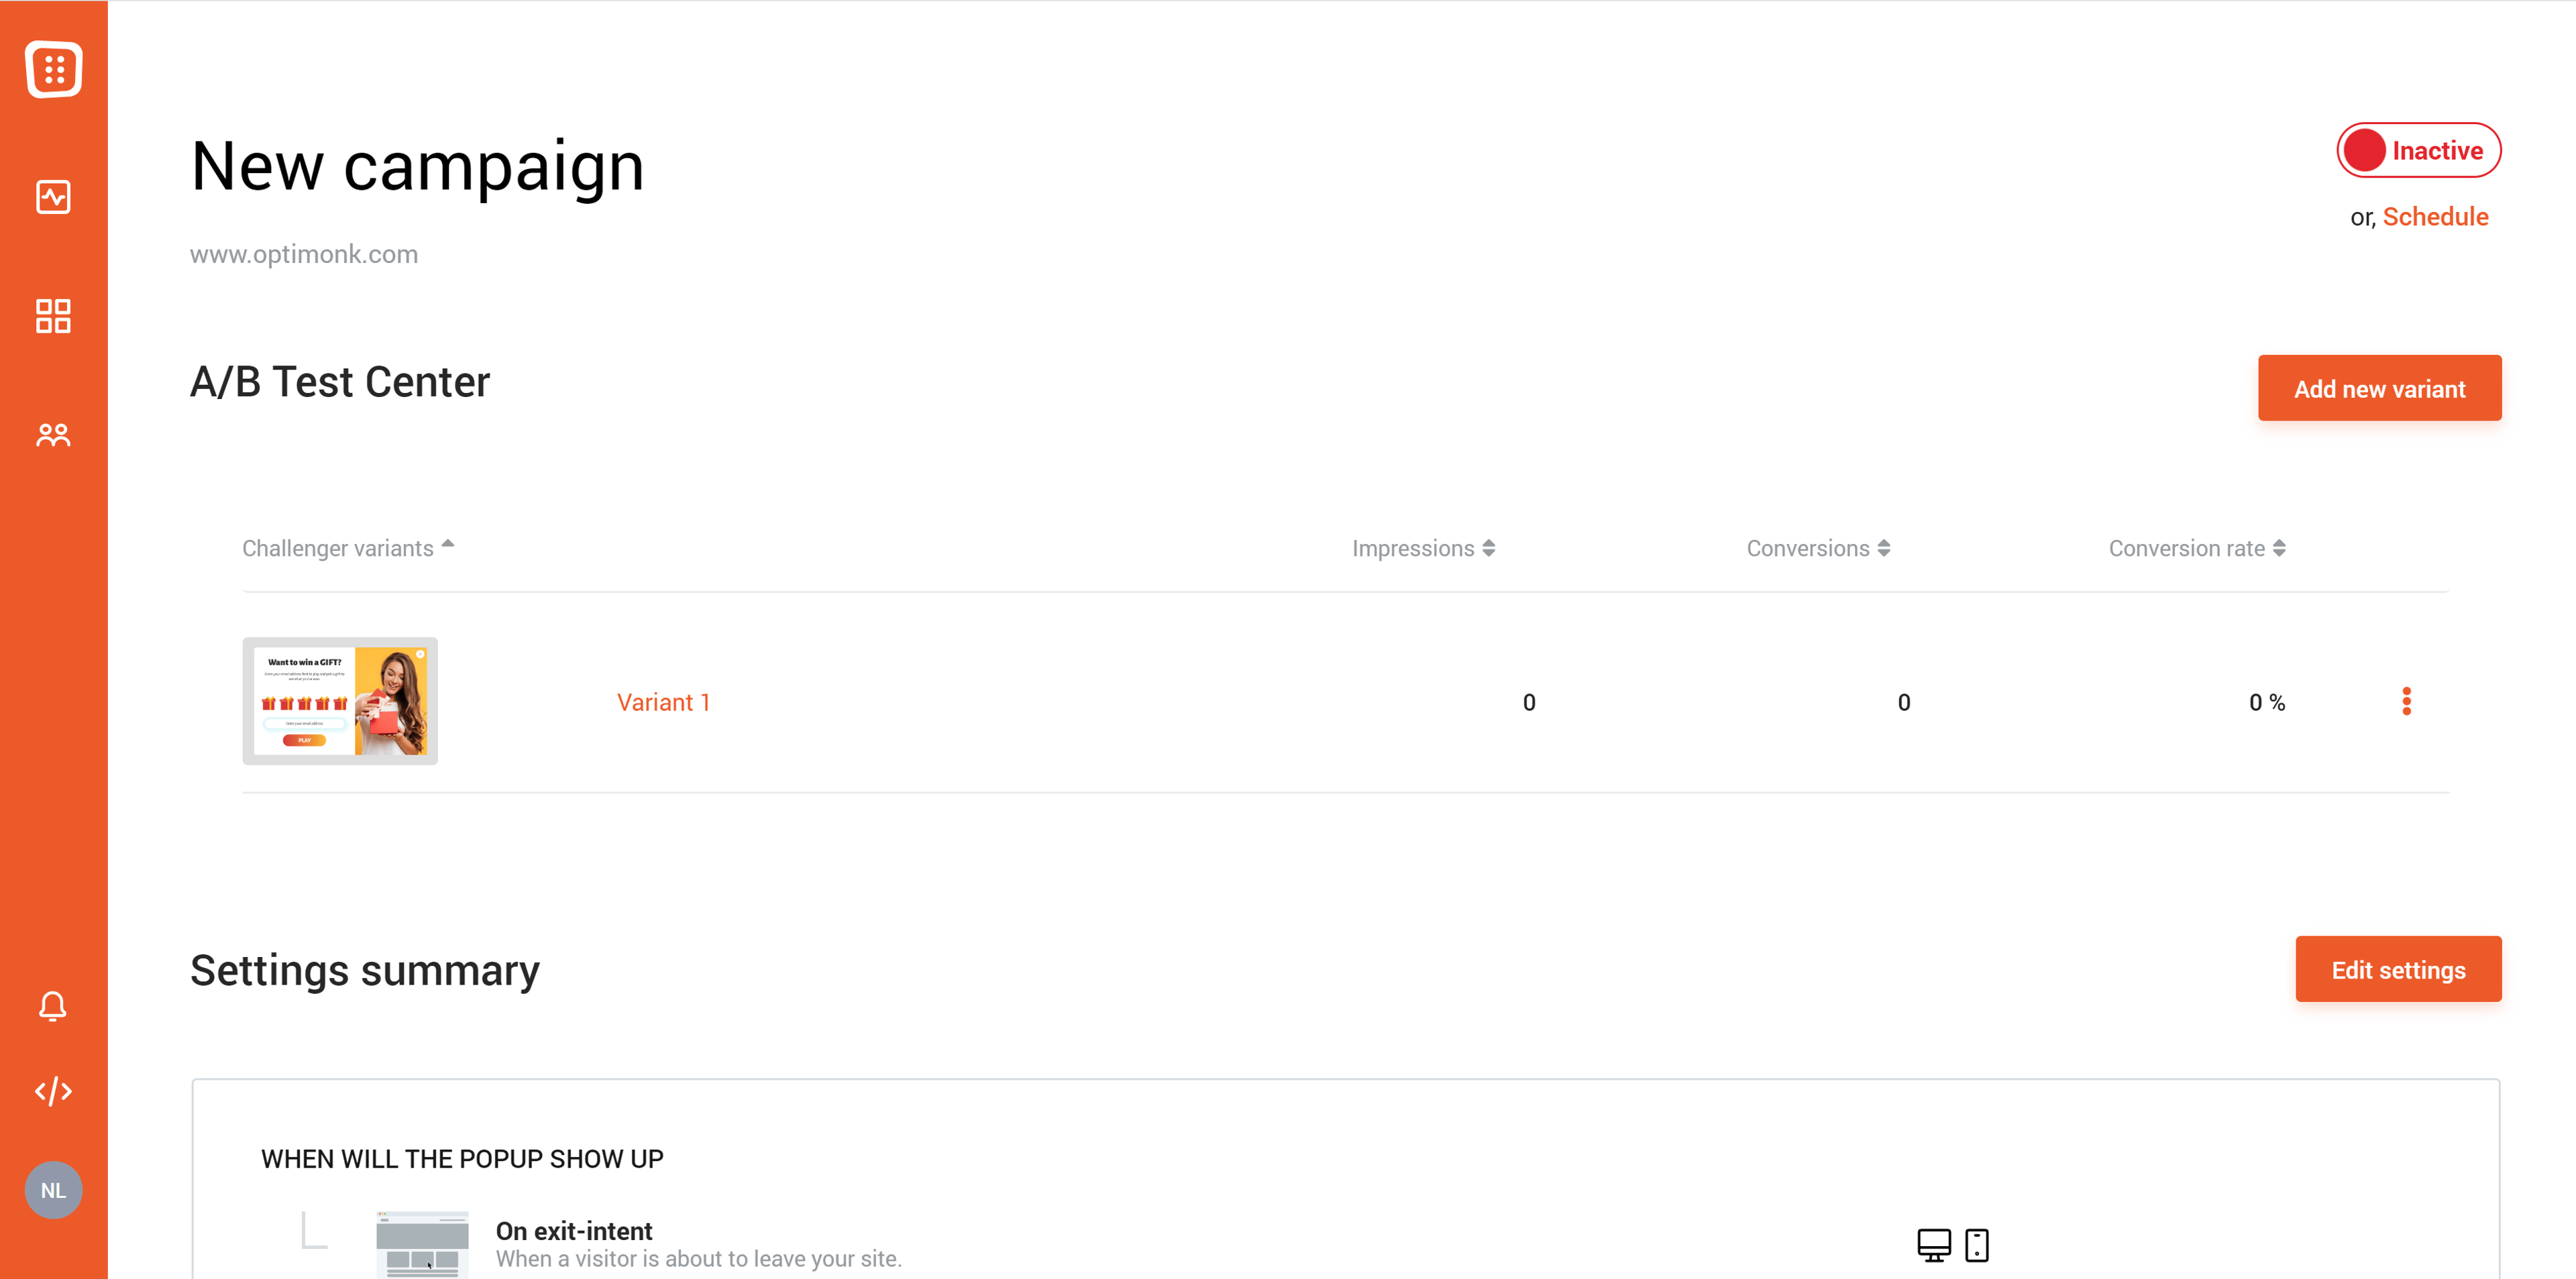
Add a new variant, tweak the timing settings, and activate the test.
Once a version reaches 50 impressions and shows a 90%+ confidence score, OptiMonk will automatically pick a winner.
Now that we’ve covered the key principles of popup timing, let’s look at a real-world example of how optimizing popup triggers can lead to better results.
EDGE®, a fitness brand specializing in grip-enhancing spray for shoe soles, conducted an A/B test to determine the best popup timing strategy.
They compared two popup timing approaches:
Both popups offered the same design and incentive, aiming to build both email and SMS subscriber lists. The only variable was the timing of their appearance.
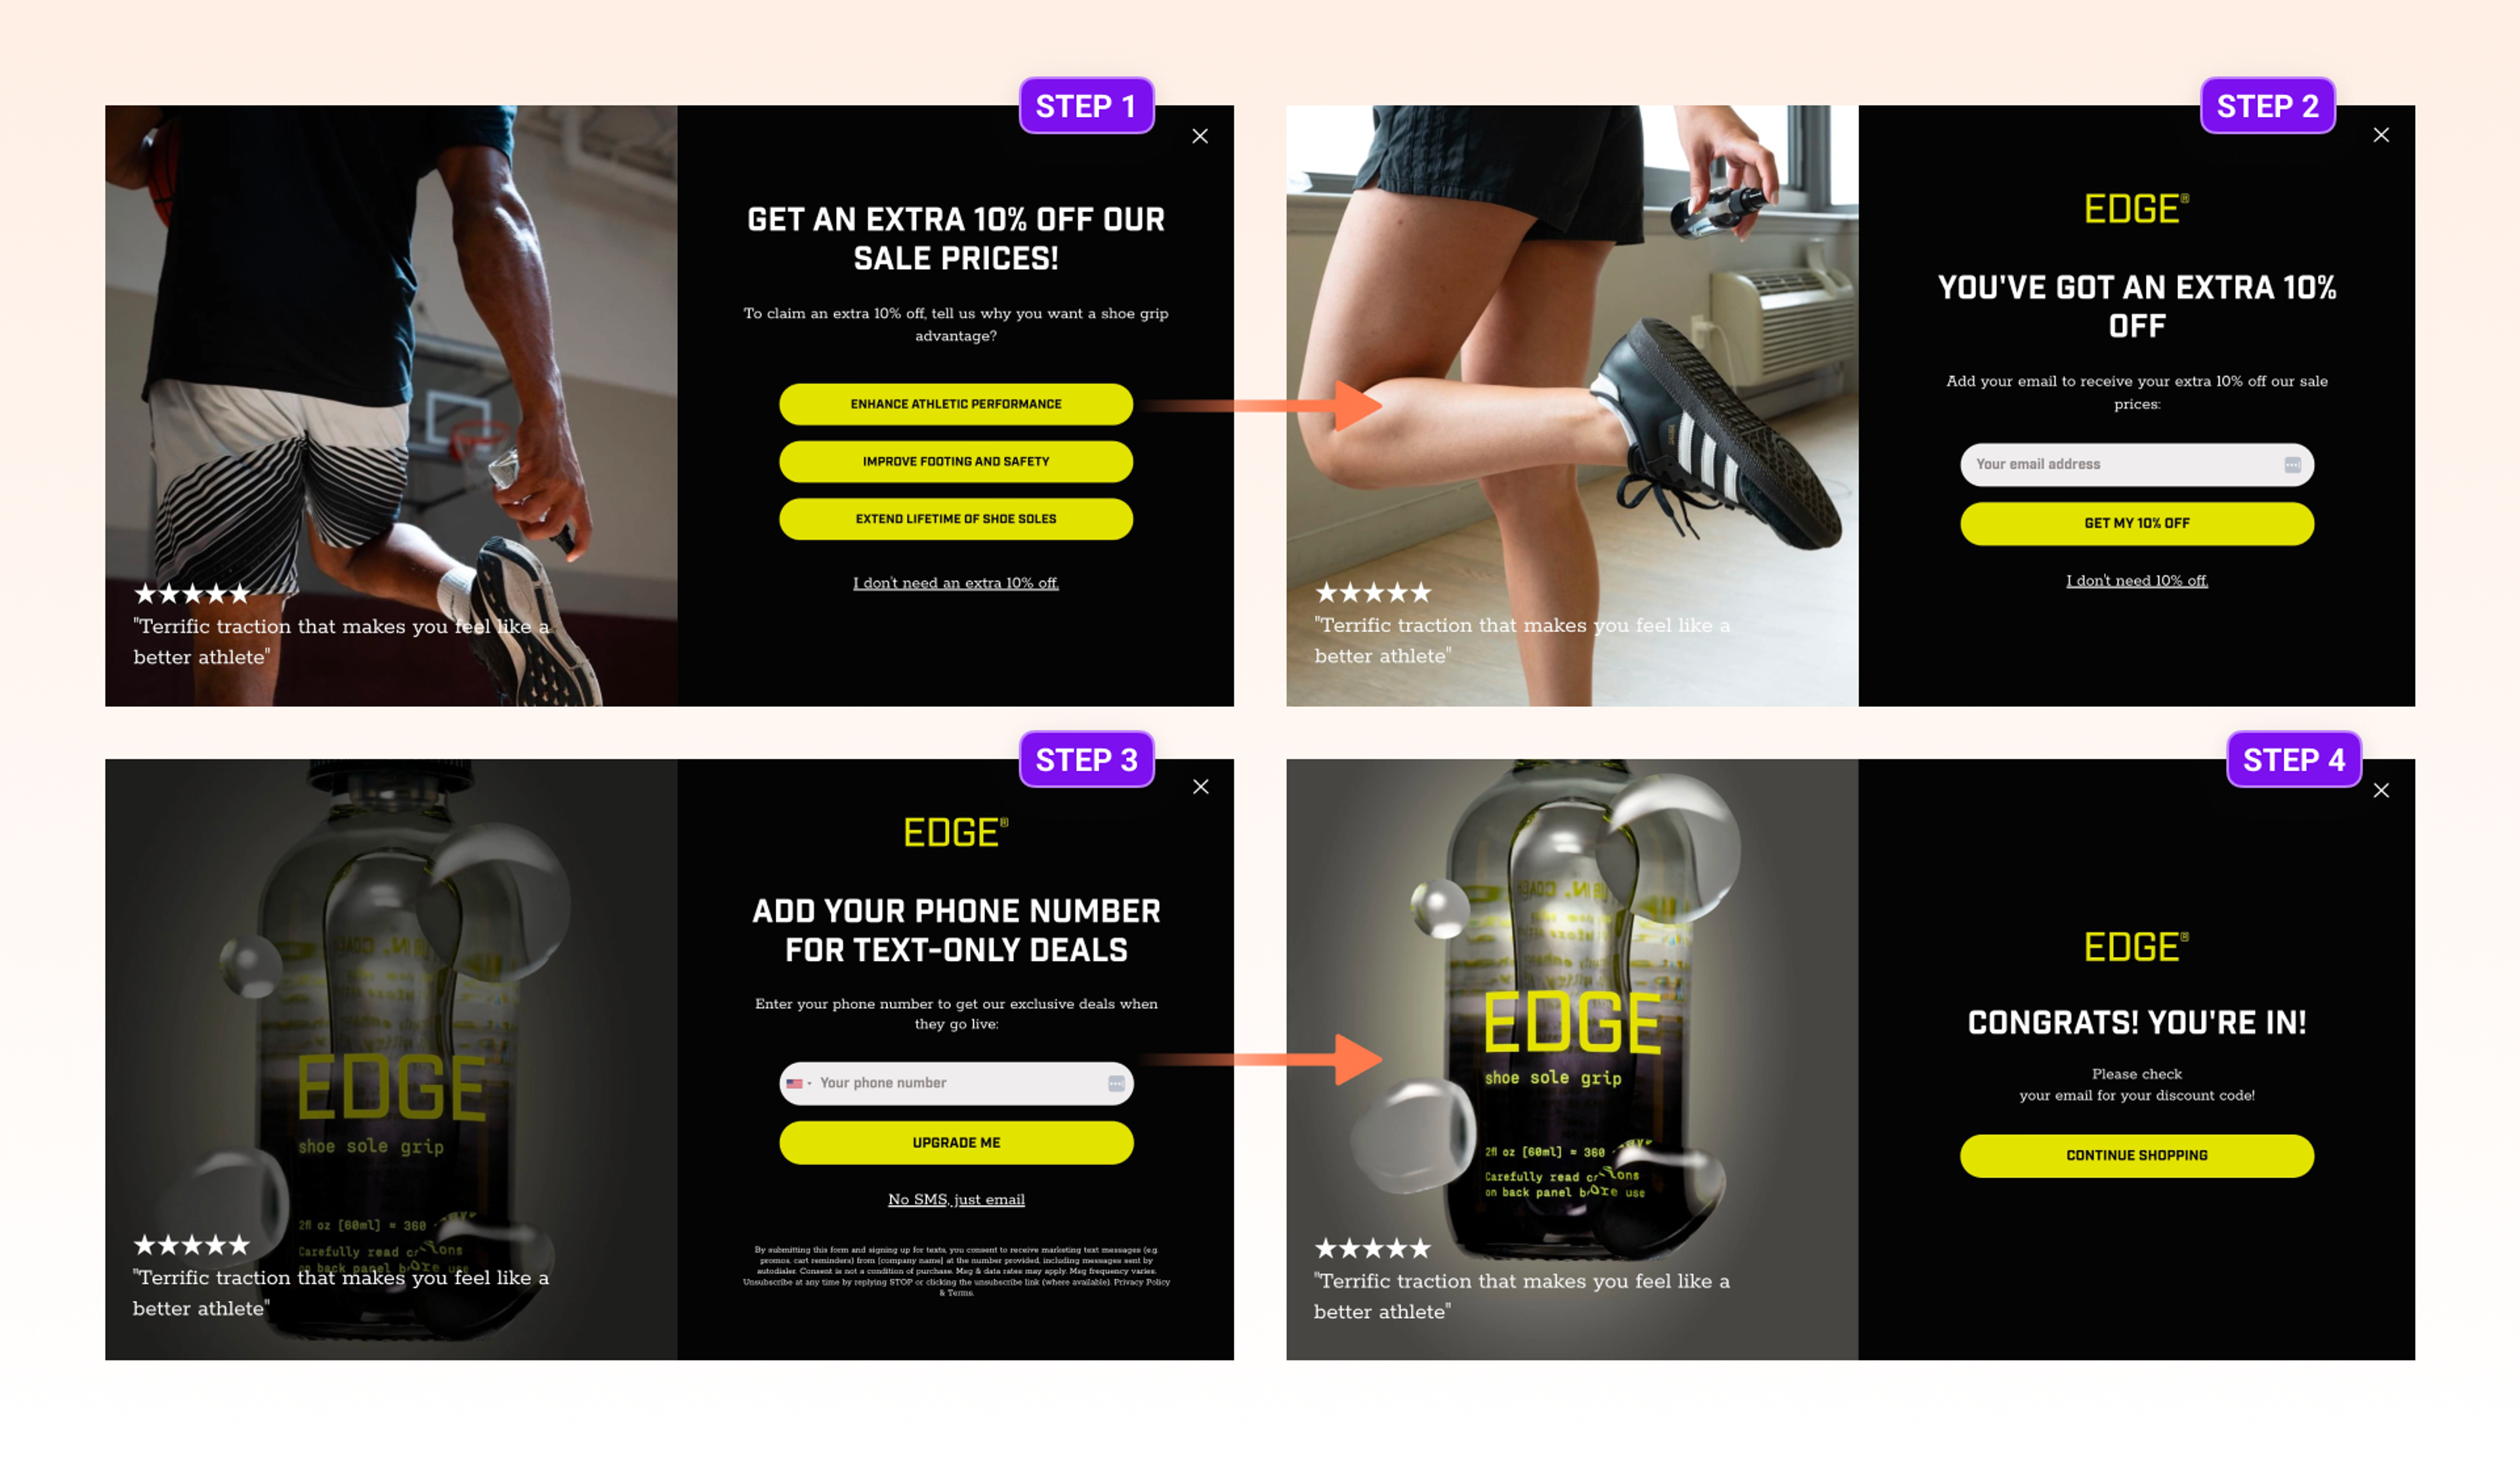
Interestingly, while subscription rates remained similar between the two popups, the exit-intent strategy significantly impacted purchasing behavior.
This suggests that timing popups to appear just as visitors are about to leave can effectively re-engage them, leading to higher conversions and revenue.
This case underscores the importance of strategic popup timing. By aligning popup triggers with user behavior, businesses can enhance user experience and drive better results.
Popups can work wonders: but only if you avoid the usual missteps.
Here are some common mistakes that can hurt your user experience (and your conversions):
Avoiding these mistakes helps your popups feel like helpful nudges, not annoying interruptions.
There is no single best time. Use your goal and audience to guide timing. For first-time visitors, wait long enough for them to understand your offer before you create popups. For returning visitors, show helpful popups sooner. For abandoners, use exit intent to capture them as they leave.
Check the average time on page for your key URLs in Google Analytics. Set your popup to appear slightly earlier than that average. For example, if visitors spend 35 seconds on a landing page, trigger at 25 to 30 seconds so they see the offer after reading, but before leaving.
Use scroll depth to show scroll triggered popups after meaningful engagement, pages viewed to qualify intent, and current page or URL to align the offer with context. For example, show content upgrades on blog posts, and discounts on product and cart pages.
Ecommerce store popups are incredibly effective in many different use cases. The tricky thing about using them is getting the popup timing and popup display right. Following the quick tips and best practices above will get you most of the way there!
Once your popup forms are up and rolling, you’ll enjoy a steady stream of new leads to send to your email marketing platform.
If you don't have an OptiMonk account yet, create one today and get started on your first popup!

In this article, we'll share the best alternatives to Sleeknote that help you to get more leads in 2026.
Wisepops' 2026 pricing changes explained, plus six alternatives matched to the exact problem each one solves: pricing, free plans, platform access, and AI.
Discover the top 5 AI popup tools for 2026 that boost website conversions. Learn how AI-driven popups personalize offers, optimize timing, and increase engagement.