- Blog
- How to Create a Popup: A Step-by-Step Guide
How to Create a Popup: A Step-by-Step Guide
-
Nikolett Lorincz
- Conversion
- 6 min read
Table of Contents
Creating a popup can often feel overwhelming. But the good news? It doesn’t have to be.
With OptiMonk, building high-converting popups is simple—no coding skills or tech experience is needed. Whether you’re looking to grow your email list, increase sales, or engage your visitors, OptiMonk gives you the tools to make it happen effortlessly.
Ready to take your popups to the next level? Let’s jump in and make some magic!
How to create a popup with OptiMonk?
Follow this step-by-step guide, and you’ll have your popups up and running in minutes.
Step 0: Sign up for OptiMonk
If you don’t have an account yet, it’s time to get one here. It only takes a couple of minutes, and you’re on your way!
Step 1. Pick a template
Once you’re inside, browse through OptiMonk’s extensive library of popup templates.
Whether you want to collect emails, offer discounts, or reduce cart abandonment, there’s a template for that.
Find one that matches your goal and click to get started.
Step 2. Customize your popups
Now comes the fun part—make the popup your own! You can change the text, background color, images, and even add buttons, countdown timers, or special offers like coupon codes.
All of this can be done without touching a single line of code.
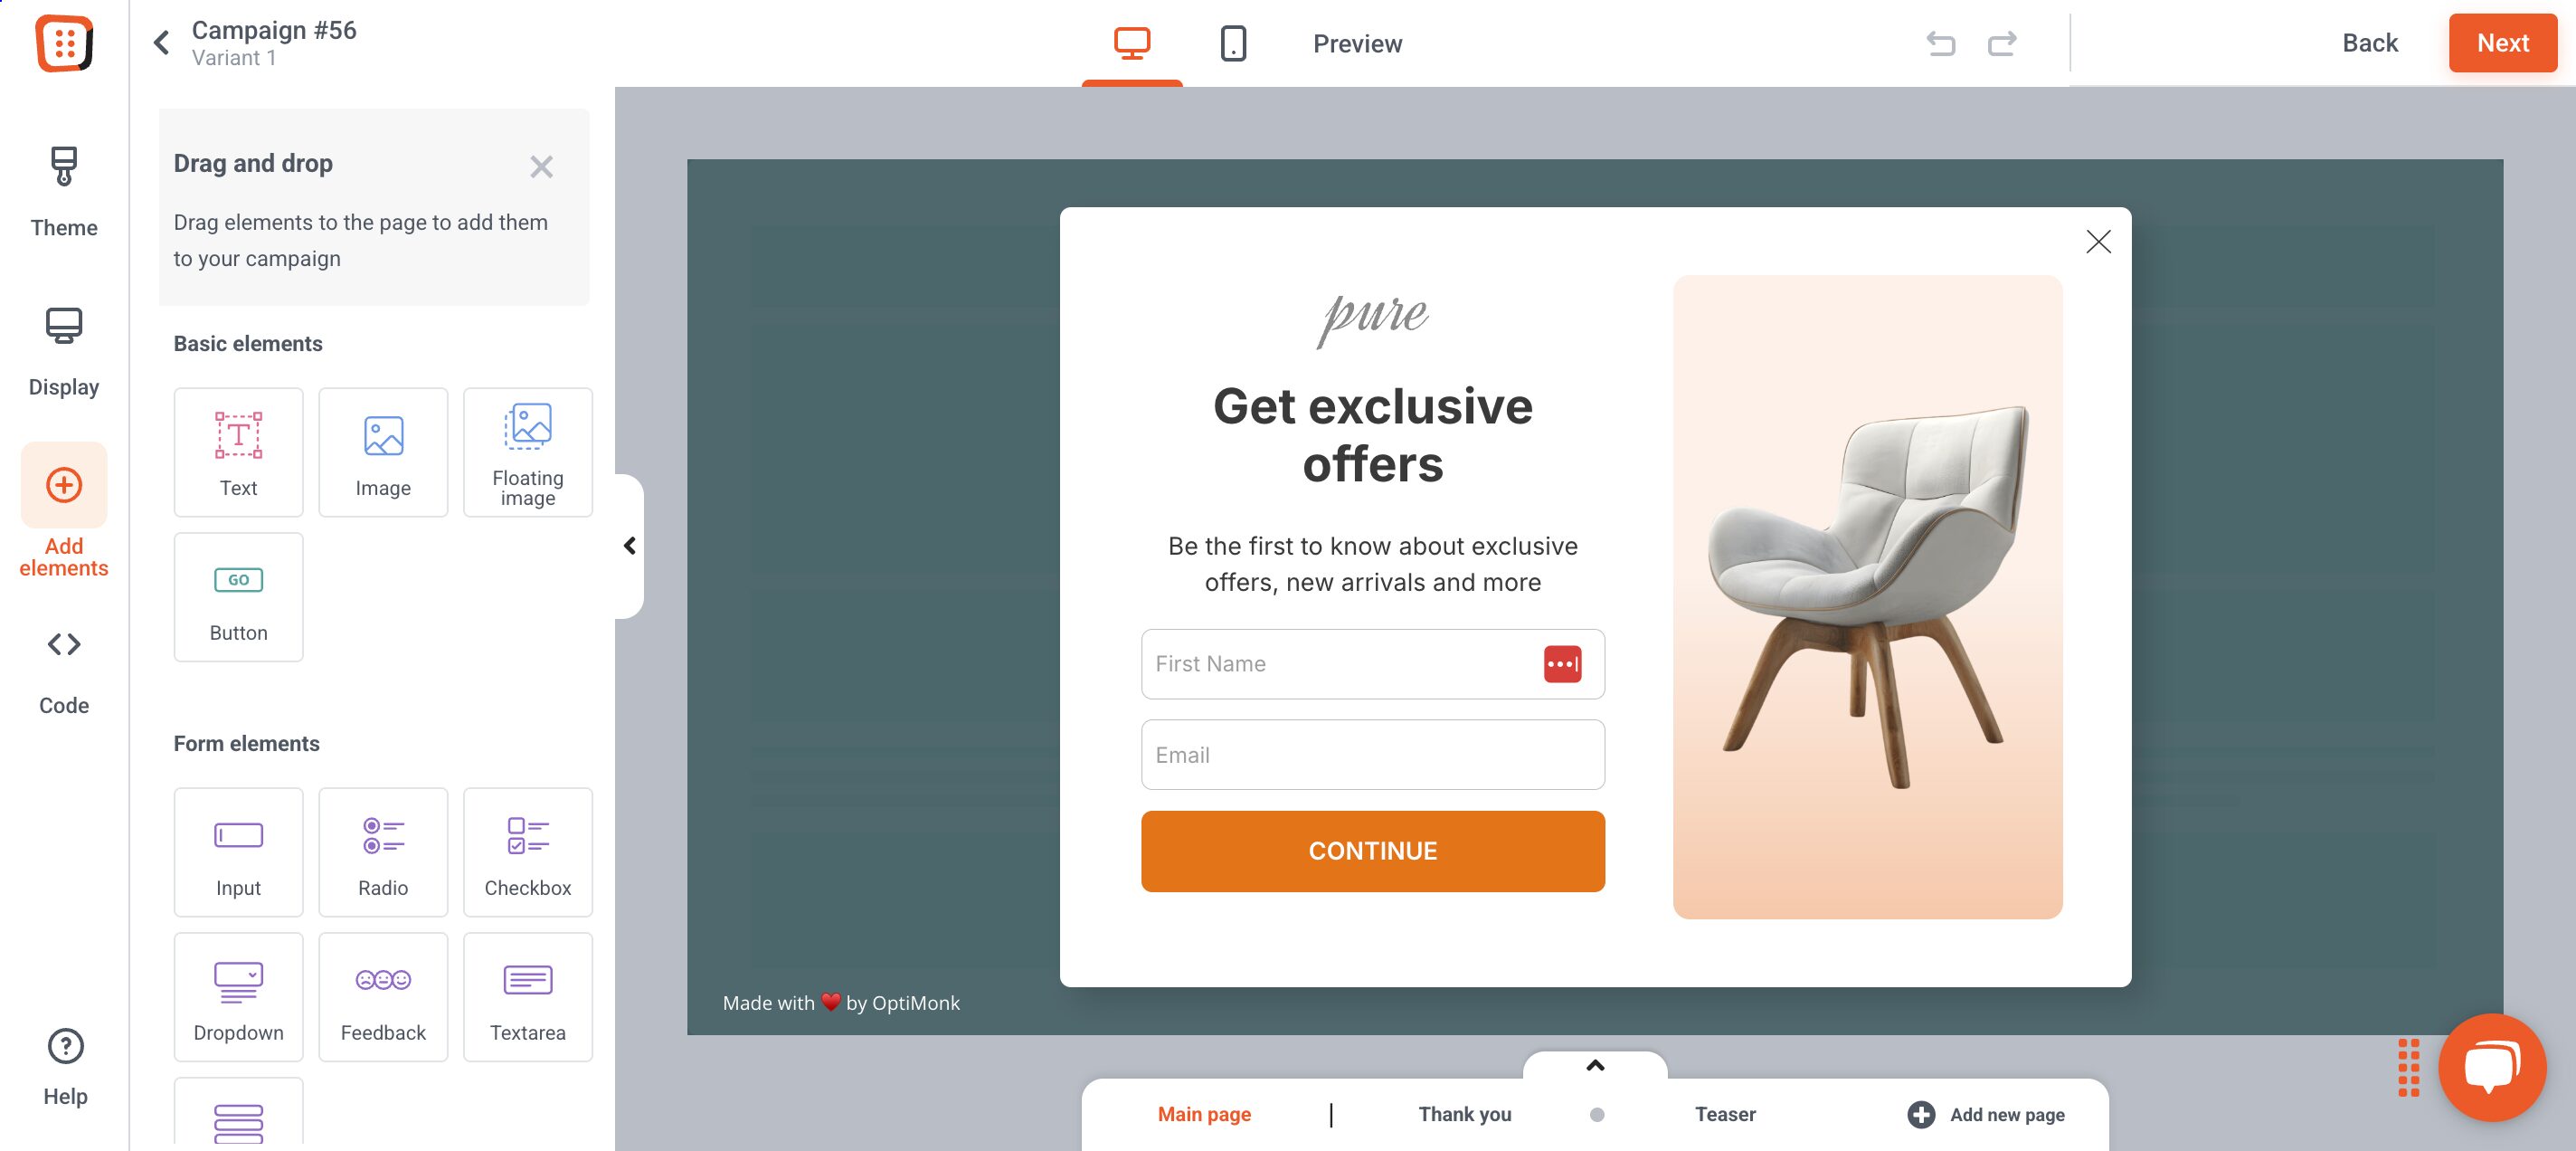
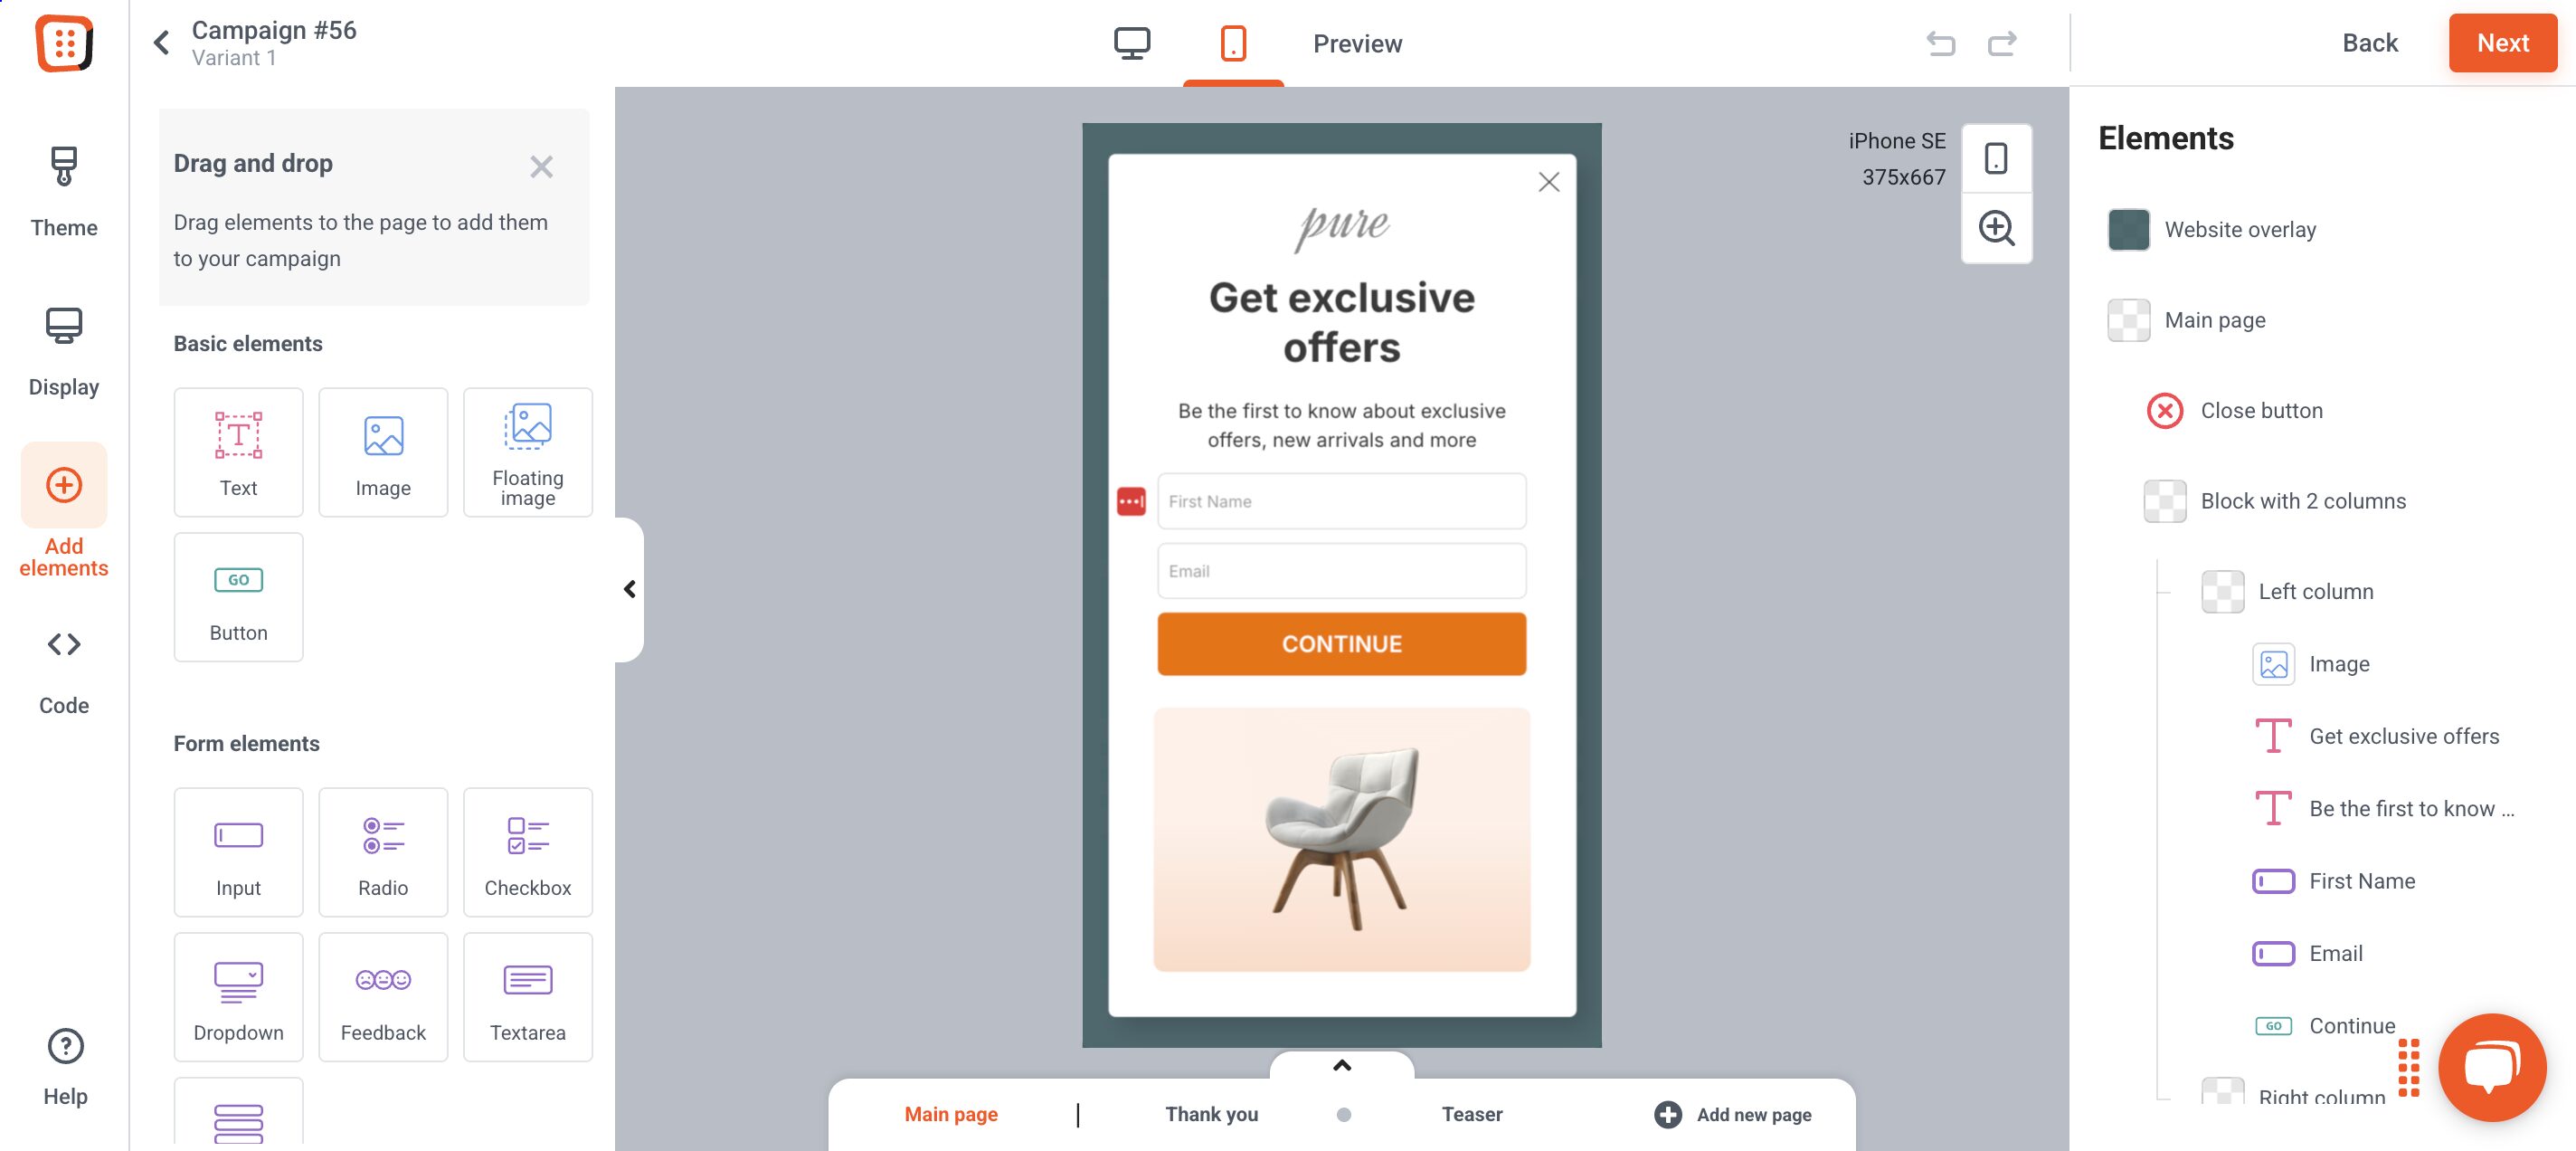
Want to target mobile users specifically? OptiMonk’s templates are mobile-friendly right out of the gate. No extra work is required!
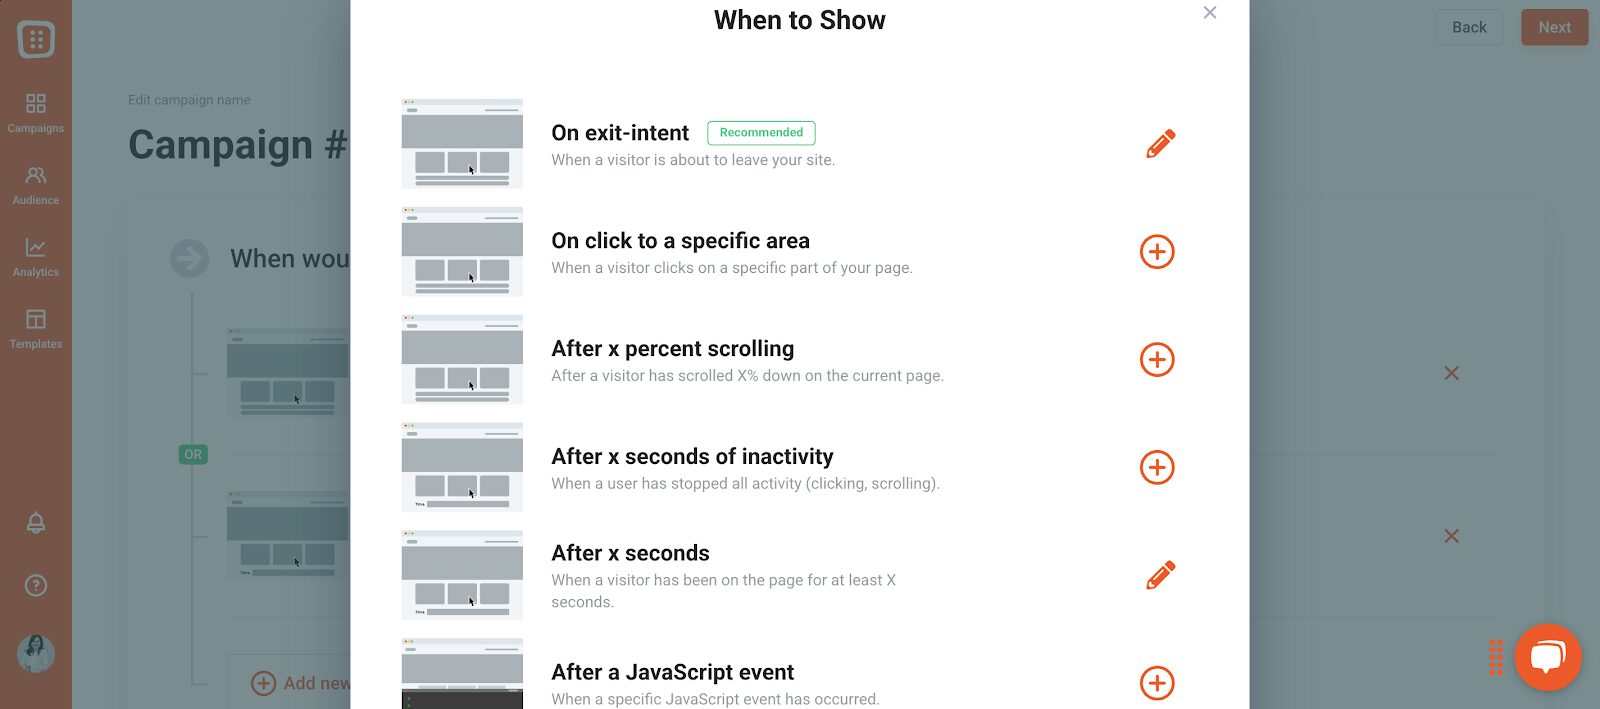
Step 3: Set targeting & triggers
When do you want your popup to appear? Perhaps when a user is about to leave the page, or maybe after they’ve scrolled halfway through? Choose the best trigger for your audience.
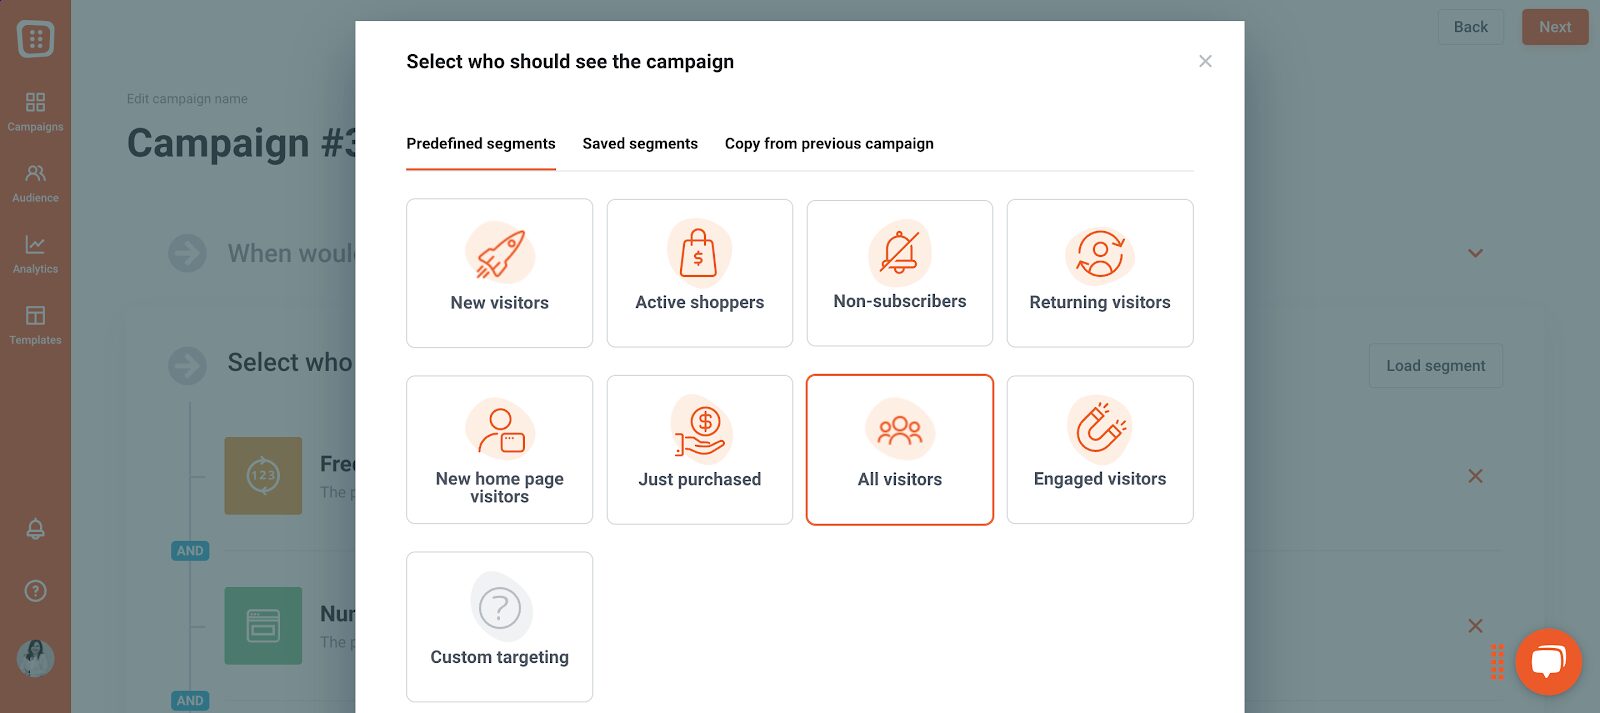
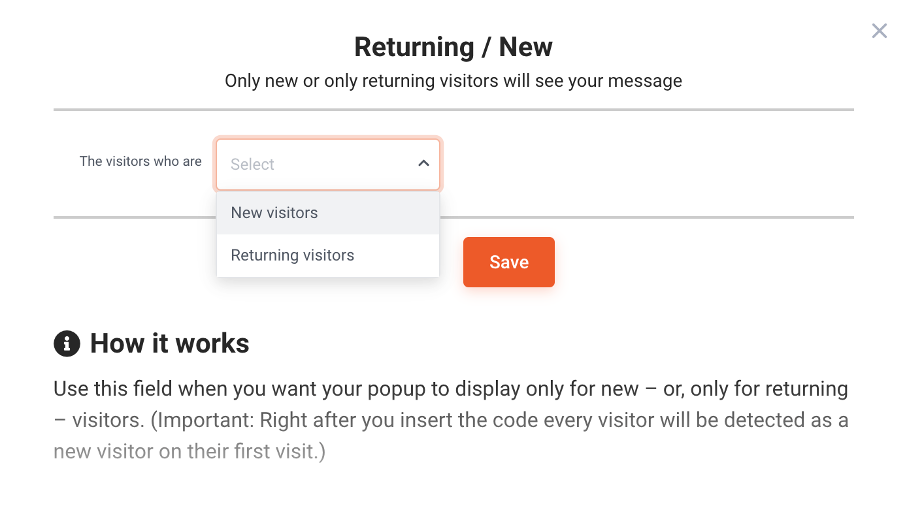
You can also fine-tune your targeting. Want to show specific popups to new visitors versus returning ones? It’s easy to segment your audience and ensure the right message reaches the right people.
Step 4: Publish and go live:
Once you’re happy with the look and feel of your popup, click “Publish.” Your popup will go live instantly and be ready to engage your visitors!
3 tips to avoid conflicts among popup campaigns
Now that your popups are up and running, let’s talk about preventing potential conflicts if you have multiple campaigns running at once.
You don’t want your visitors bombarded with popups, right? Here are three tips to make sure your popups complement each other, not clash.
1. Target specific segments
We’ve already touched on targeting new vs. returning visitors. Here’s why that matters: by targeting distinct segments with different campaigns, you avoid showing the same visitor multiple popups.
For example, one campaign could target new users while another targets users who’ve made a purchase in the past.
This keeps the user experience smooth, and you won’t confuse or annoy your visitors with multiple messages.
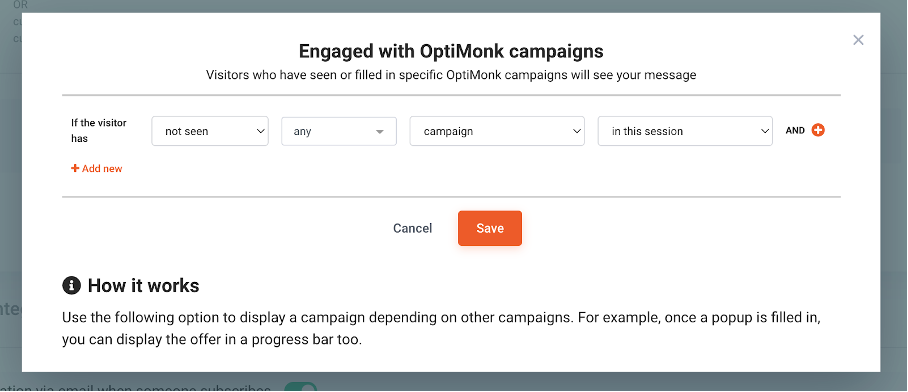
2. Exclude visitors who have seen other popups
Sometimes, your segmentation might overlap. A visitor might qualify for both a “new user” popup and one that targets people from a certain country.
This could result in the same person seeing two popups in a row, which isn’t ideal.
Thankfully, OptiMonk lets you exclude visitors who have already engaged with other popups in the current session. That way, your visitors won’t be overwhelmed by multiple popups at once.
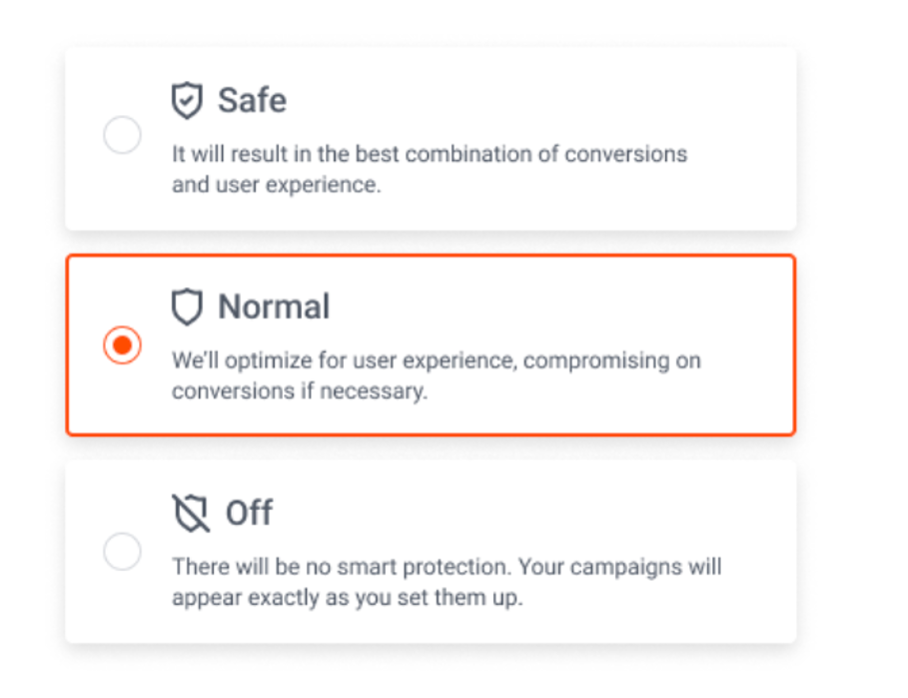
3. Use the UX protector
Even the best-laid plans can have hiccups, like forgetting to exclude certain segments or triggering popups too often. To prevent your visitors from feeling bombarded by popups, OptiMonk’s UX Protector feature has you covered.
This ensures your popups won’t overwhelm visitors with too many messages, keeping the experience smooth and user-friendly.
FAQ
How long does it take to set up a popup?
Setting up a popup can take just a few minutes! From choosing a template to customizing it and selecting triggers, the process is quick and intuitive, especially with a platform like OptiMonk. You can have a fully functional popup live in no time.
Are popups effective for increasing conversions?
When designed properly, popups can significantly boost conversions. By timing them correctly and offering something valuable, like a discount or special offer, you can encourage visitors to take action—whether it’s signing up, making a purchase, or completing a form.
Can I track the performance of my popups?
Yes! OptiMonk and similar platforms offer analytics to track how well your popups are performing. You can see metrics like views, conversions, and engagement to understand what’s working and optimize future campaigns.
Wrapping up
Creating popups that engage and convert doesn’t have to be a complicated process. With OptiMonk, you can easily design popups, set up targeting rules, and launch them—all without the need for coding expertise.
Plus, by following the tips to avoid conflicts, you can make sure your campaigns work in harmony to boost your website’s performance.
So, are you ready to create popups that not only look great but drive results? With OptiMonk, it’s just a few clicks away!
Ready to create? Make your free OptiMonk account today—or visit our template library and pick out one of our ready-to-use templates.
Migration has never been easier
We made switching a no-brainer with our free, white-glove onboarding service so you can get started in the blink of an eye.
What should you do next?
Thanks for reading till the end. Here are 4 ways we can help you grow your business:
Boost conversions with proven use cases
Explore our Use Case Library, filled with actionable personalization examples and step-by-step guides to unlock your website's full potential. Check out Use Case Library
Create a free OptiMonk account
Create a free OptiMonk account and easily get started with popups and conversion rate optimization. Get OptiMonk free
Get advice from a CRO expert
Schedule a personalized discovery call with one of our experts to explore how OptiMonk can help you grow your business. Book a demo
Join our weekly newsletter
Real CRO insights & marketing tips. No fluff. Straight to your inbox. Subscribe now
Share this article
Written by

Nikolett Lorincz
Nikolett is the Head of Content at OptiMonk. She is obsessed with content marketing and loves creating educational content for ecommerce store owners. She truly believes in the importance of quality over quantity.
You may also like
- Posted in
- Conversion
Partner with us
- © OptiMonk. All rights reserved!
- Terms of Use
- Privacy Policy
- Cookie Policy
Product updates: January Release 2025